
All ATV Camo Vinyl Wraps
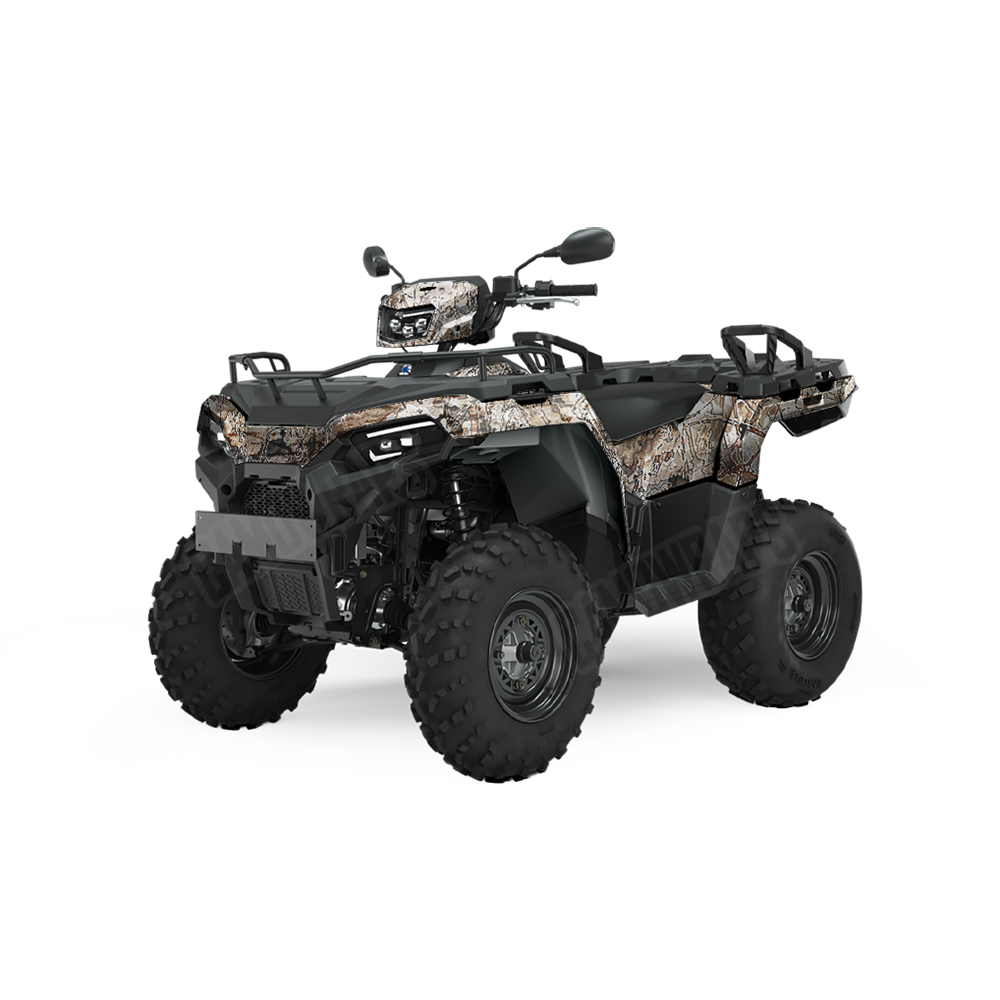
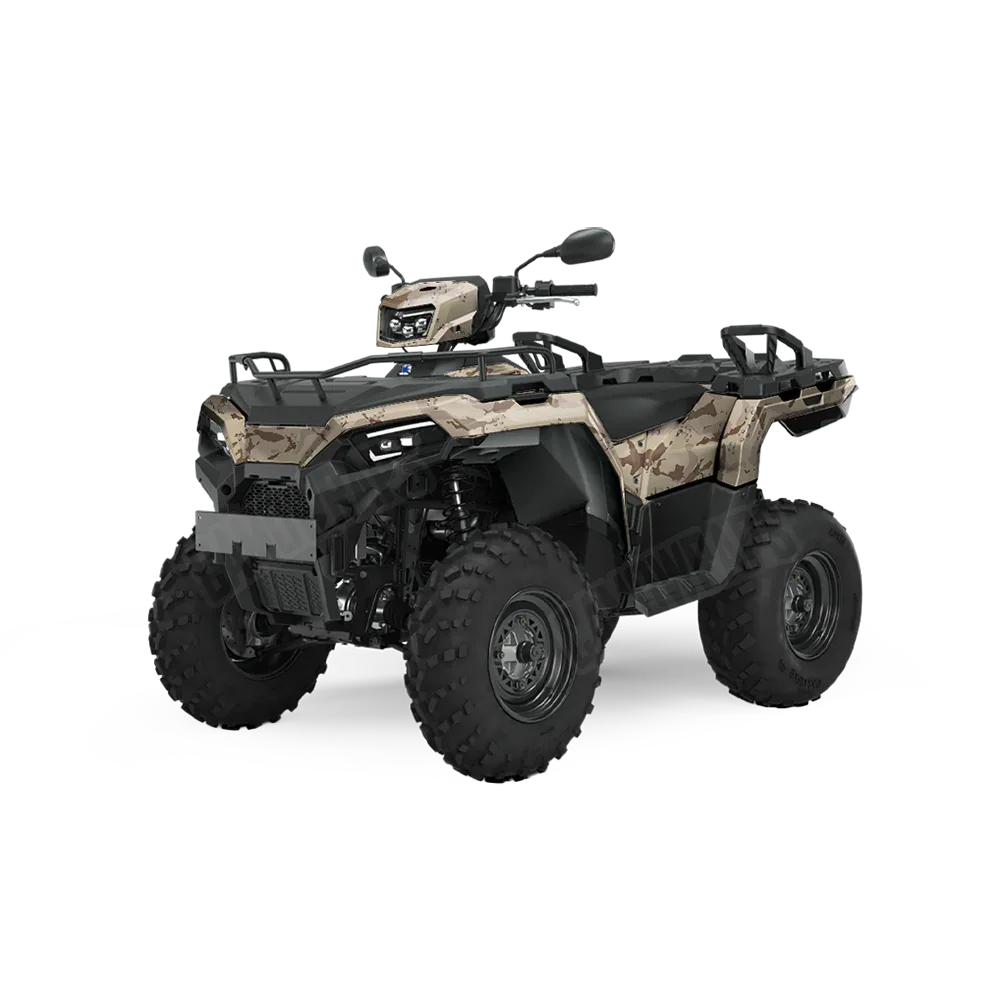
Just Hunt ATV Camo Vinyl Wraps
Regular price
From $239.00 USD
Regular price
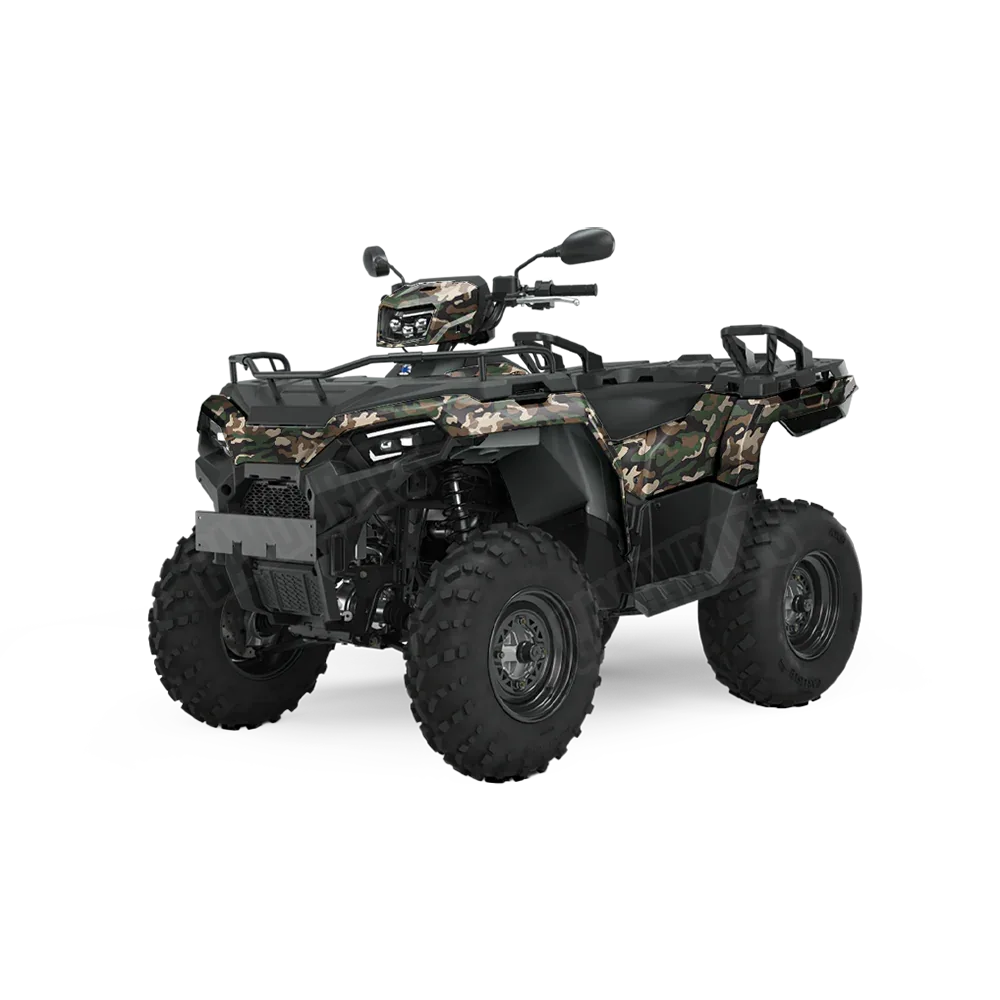
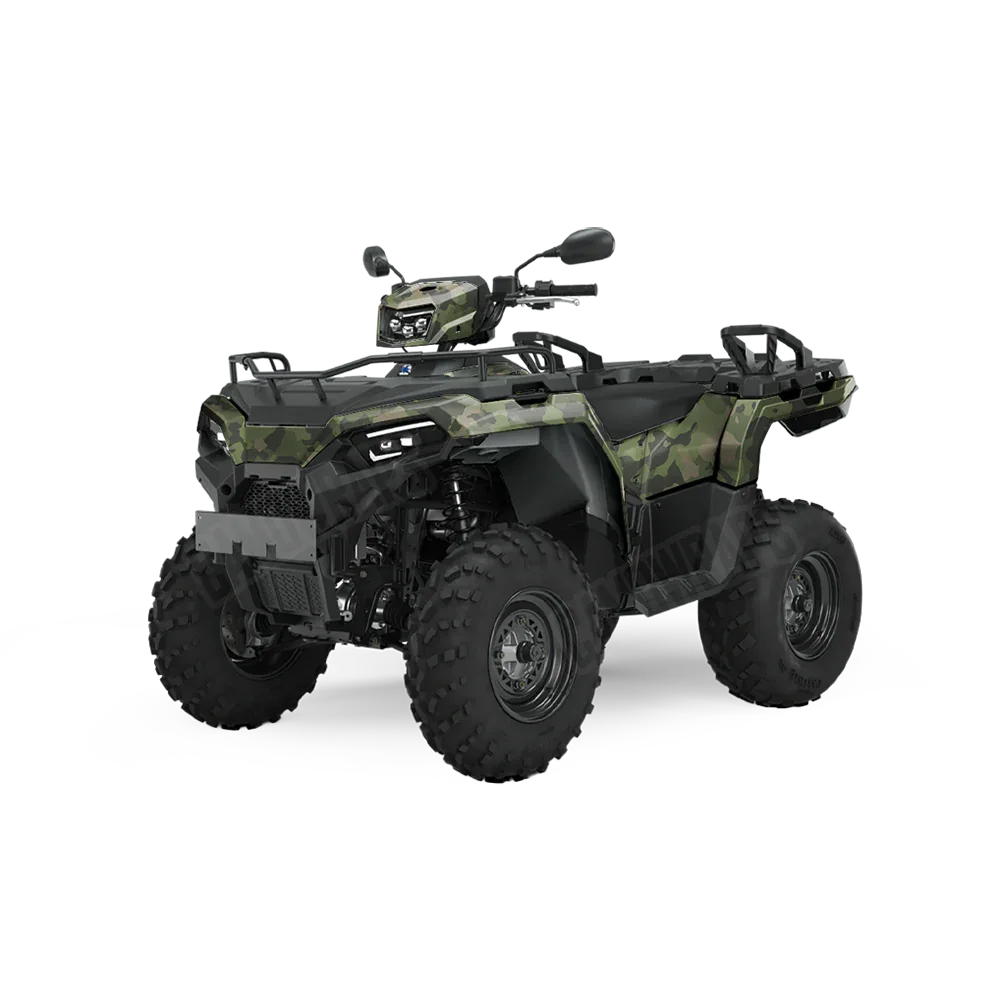
Classic ATV Camo Vinyl Wraps
Regular price
From $239.00 USD
Regular price
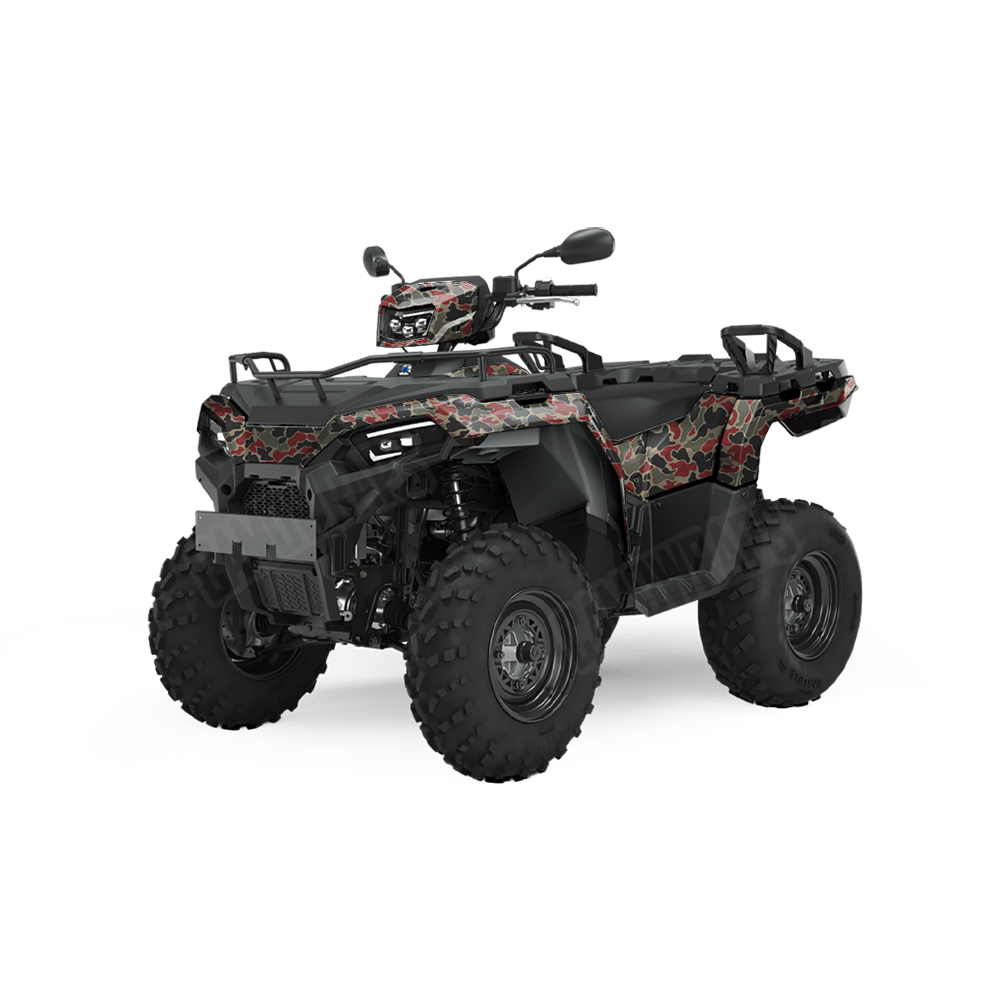
Old School Duck ATV Camo Vinyl Wraps
Regular price
From $239.00 USD
Regular price

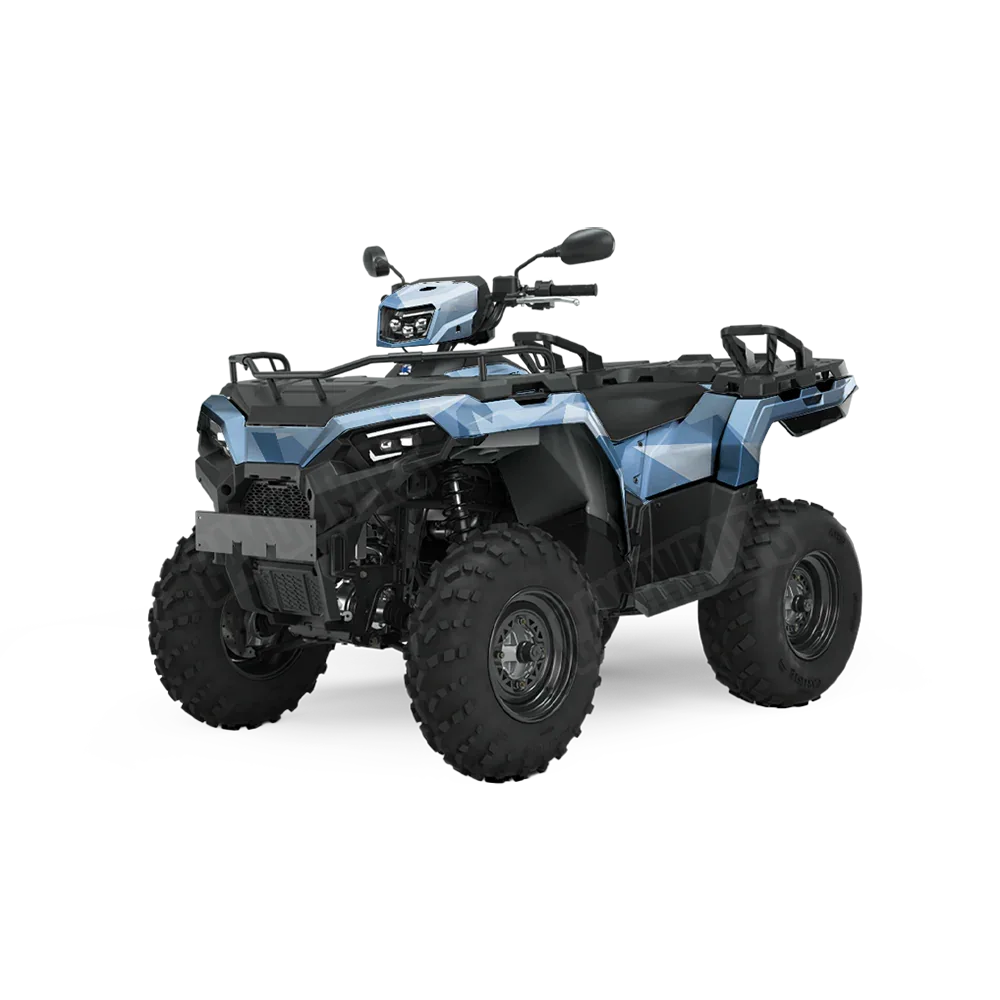
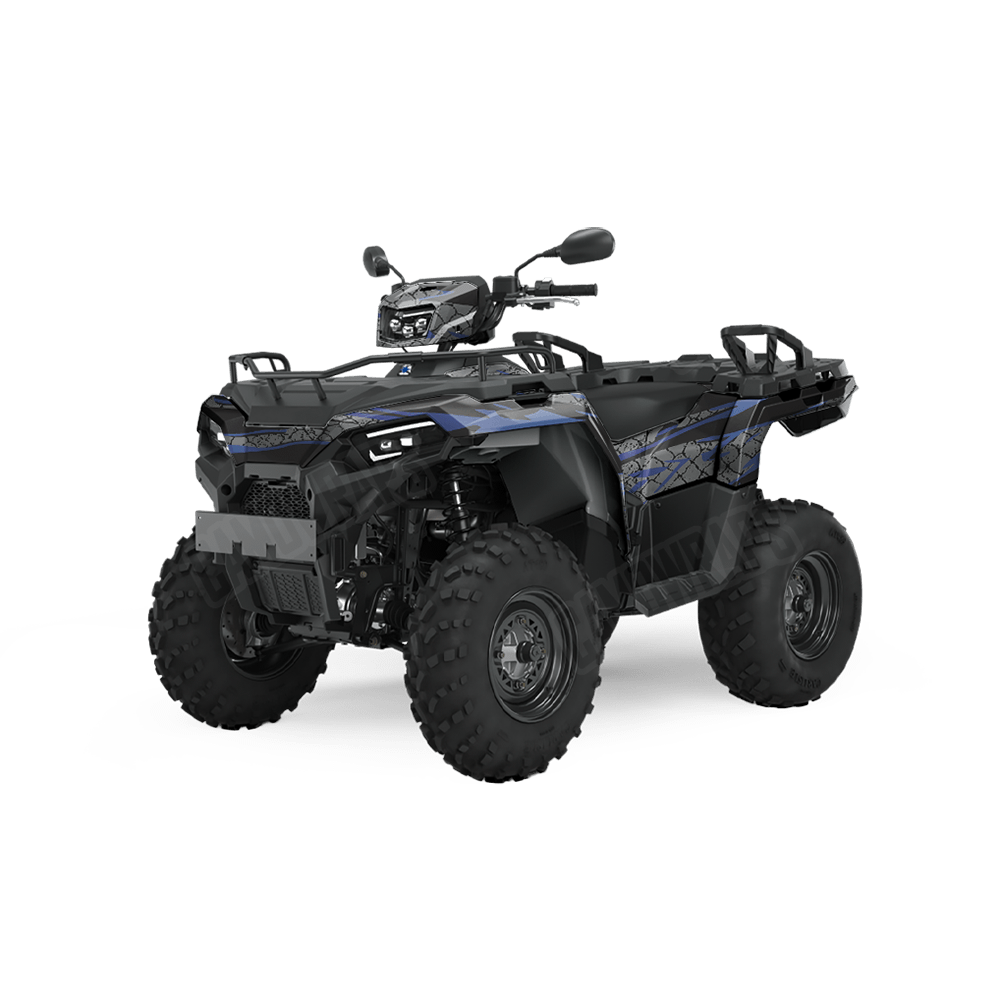
Triangle ATV Camo Vinyl Wraps
Regular price
From $239.00 USD
Regular price

Tire Splatter ATV Camo Vinyl Wraps
Regular price
From $239.00 USD
Regular price

Vietnam Tiger Stripe ATV Camo Vinyl Wraps
Regular price
From $239.00 USD
Regular price

Sirphis ATV Camo Vinyl Wraps
Regular price
From $239.00 USD
Regular price
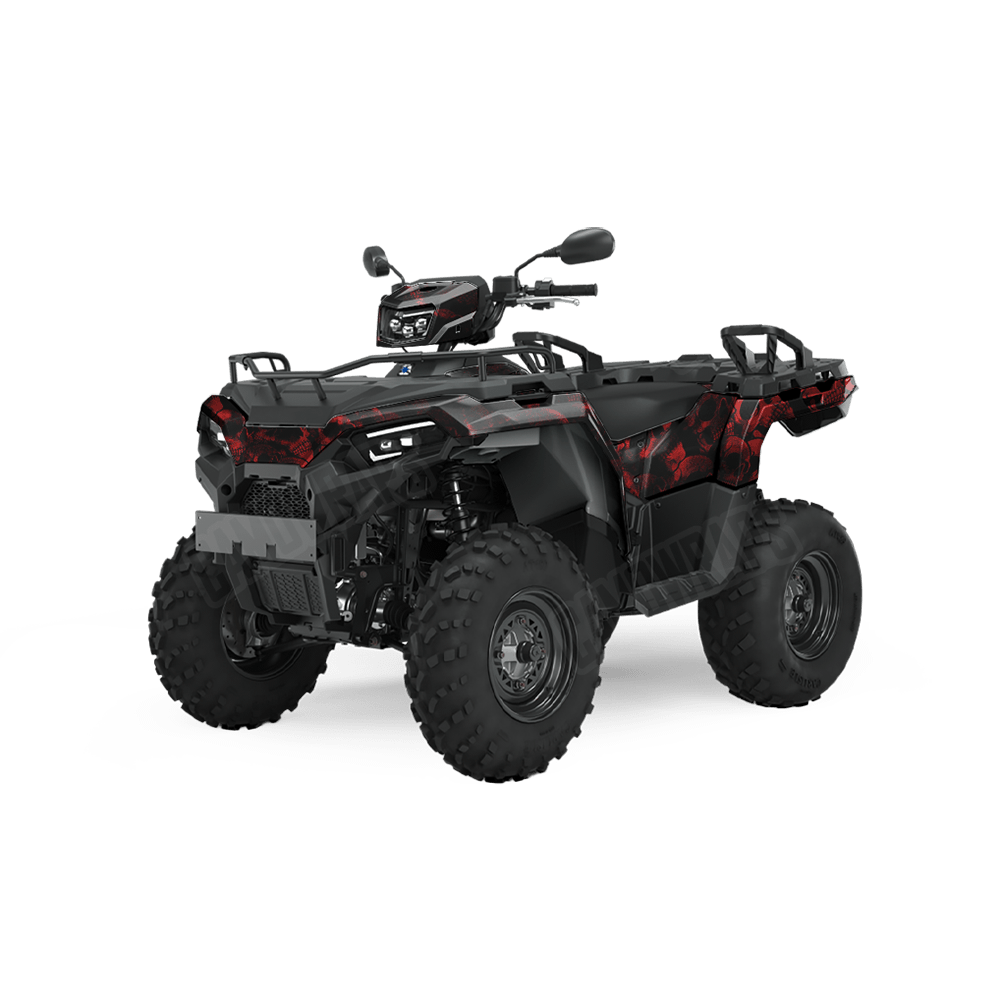
Shattered ATV Camo Vinyl Wraps
Regular price
From $239.00 USD
Regular price
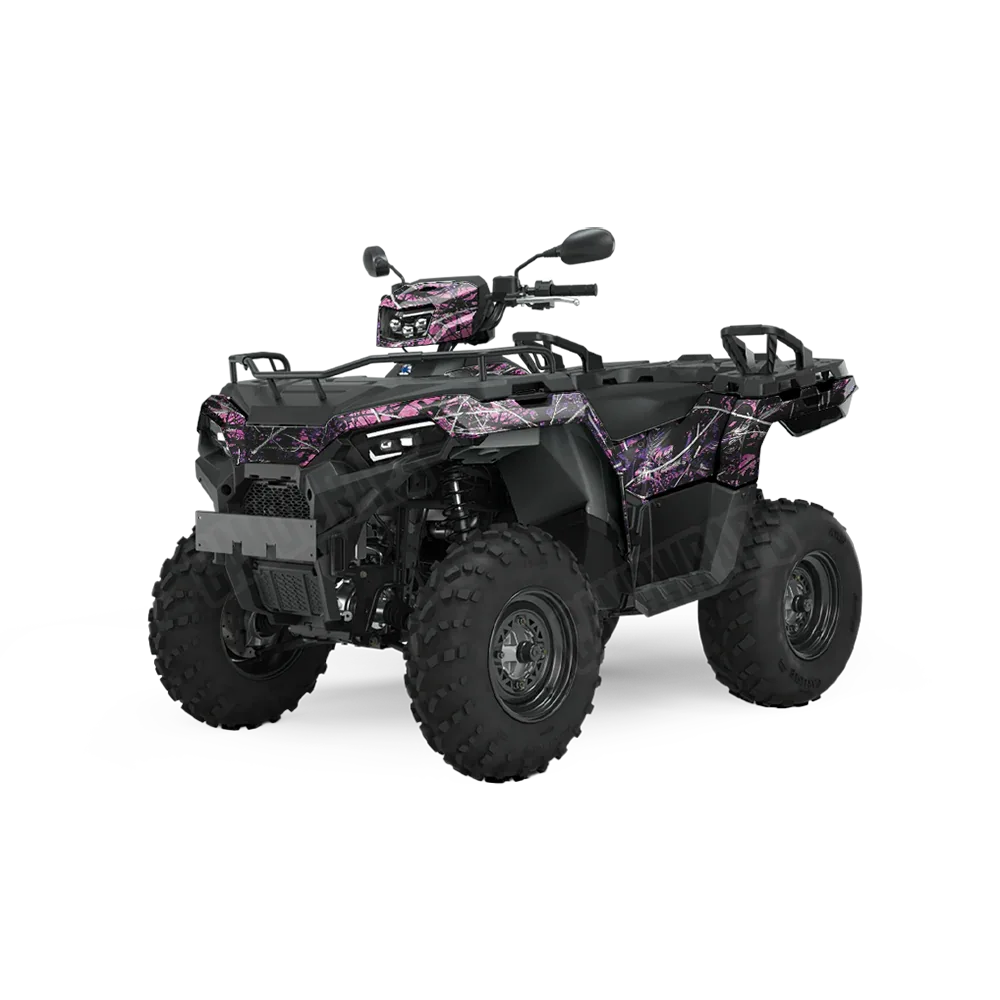
Muddy Girl ATV Camo Vinyl Wraps
Regular price
From $239.00 USD
Regular price
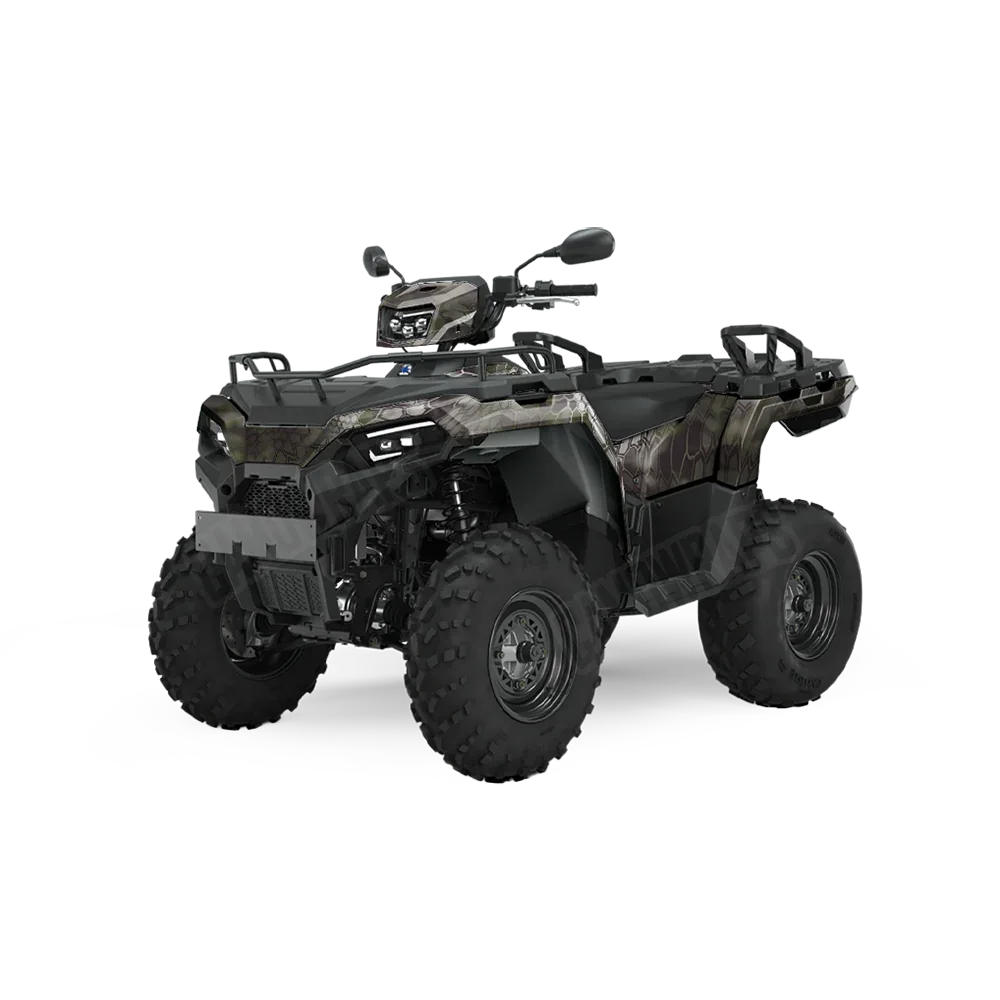
Kryptek ATV Camo Vinyl Wraps
Regular price
From $239.00 USD
Regular price
Cumulus ATV Camo Vinyl Wraps
Regular price
From $239.00 USD
Regular price
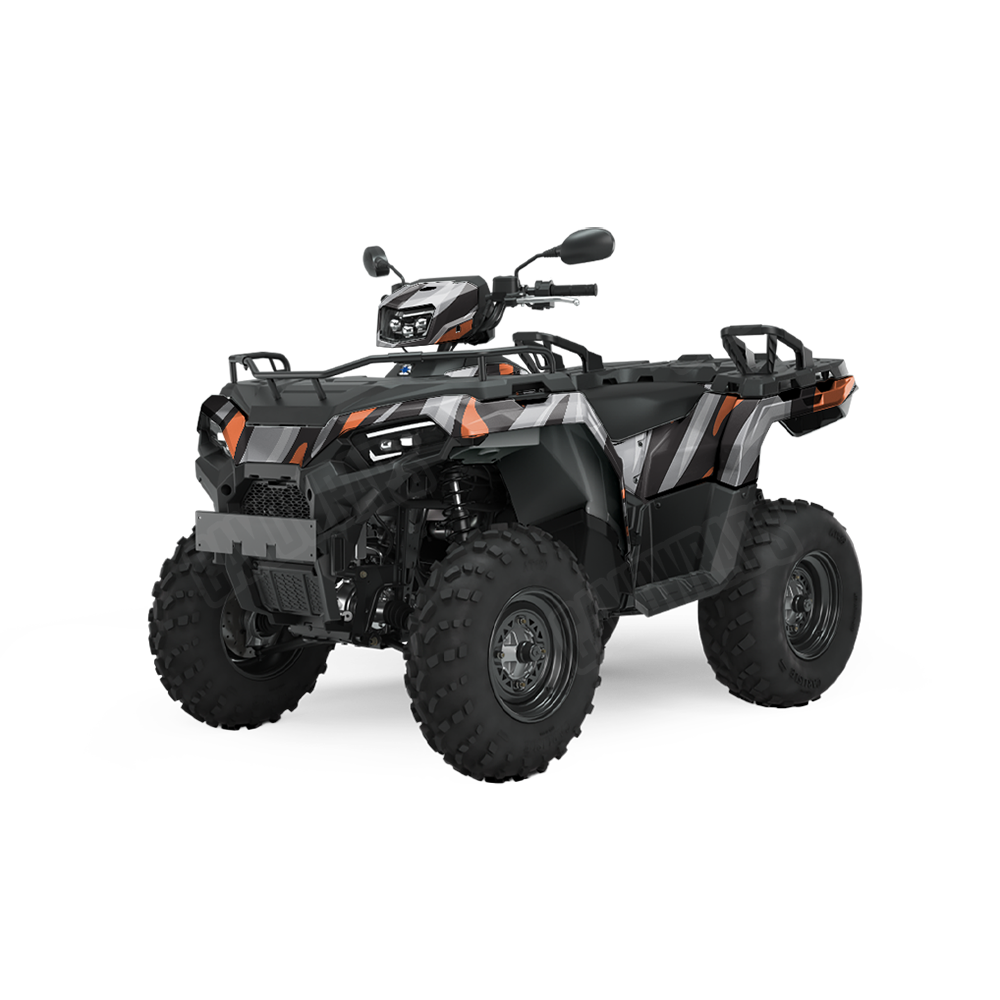
Battle Storm ATV Camo Vinyl Wraps
Regular price
From $239.00 USD
Regular price

A-TACS U|CON ATV Camo Vinyl Wraps
Regular price
From $239.00 USD
Regular price
Dragonbreath ATV Camo Vinyl Wraps
Regular price
From $239.00 USD
Regular price
Fun Stripe ATV Camo Vinyl Wraps
Regular price
From $239.00 USD
Regular price