null
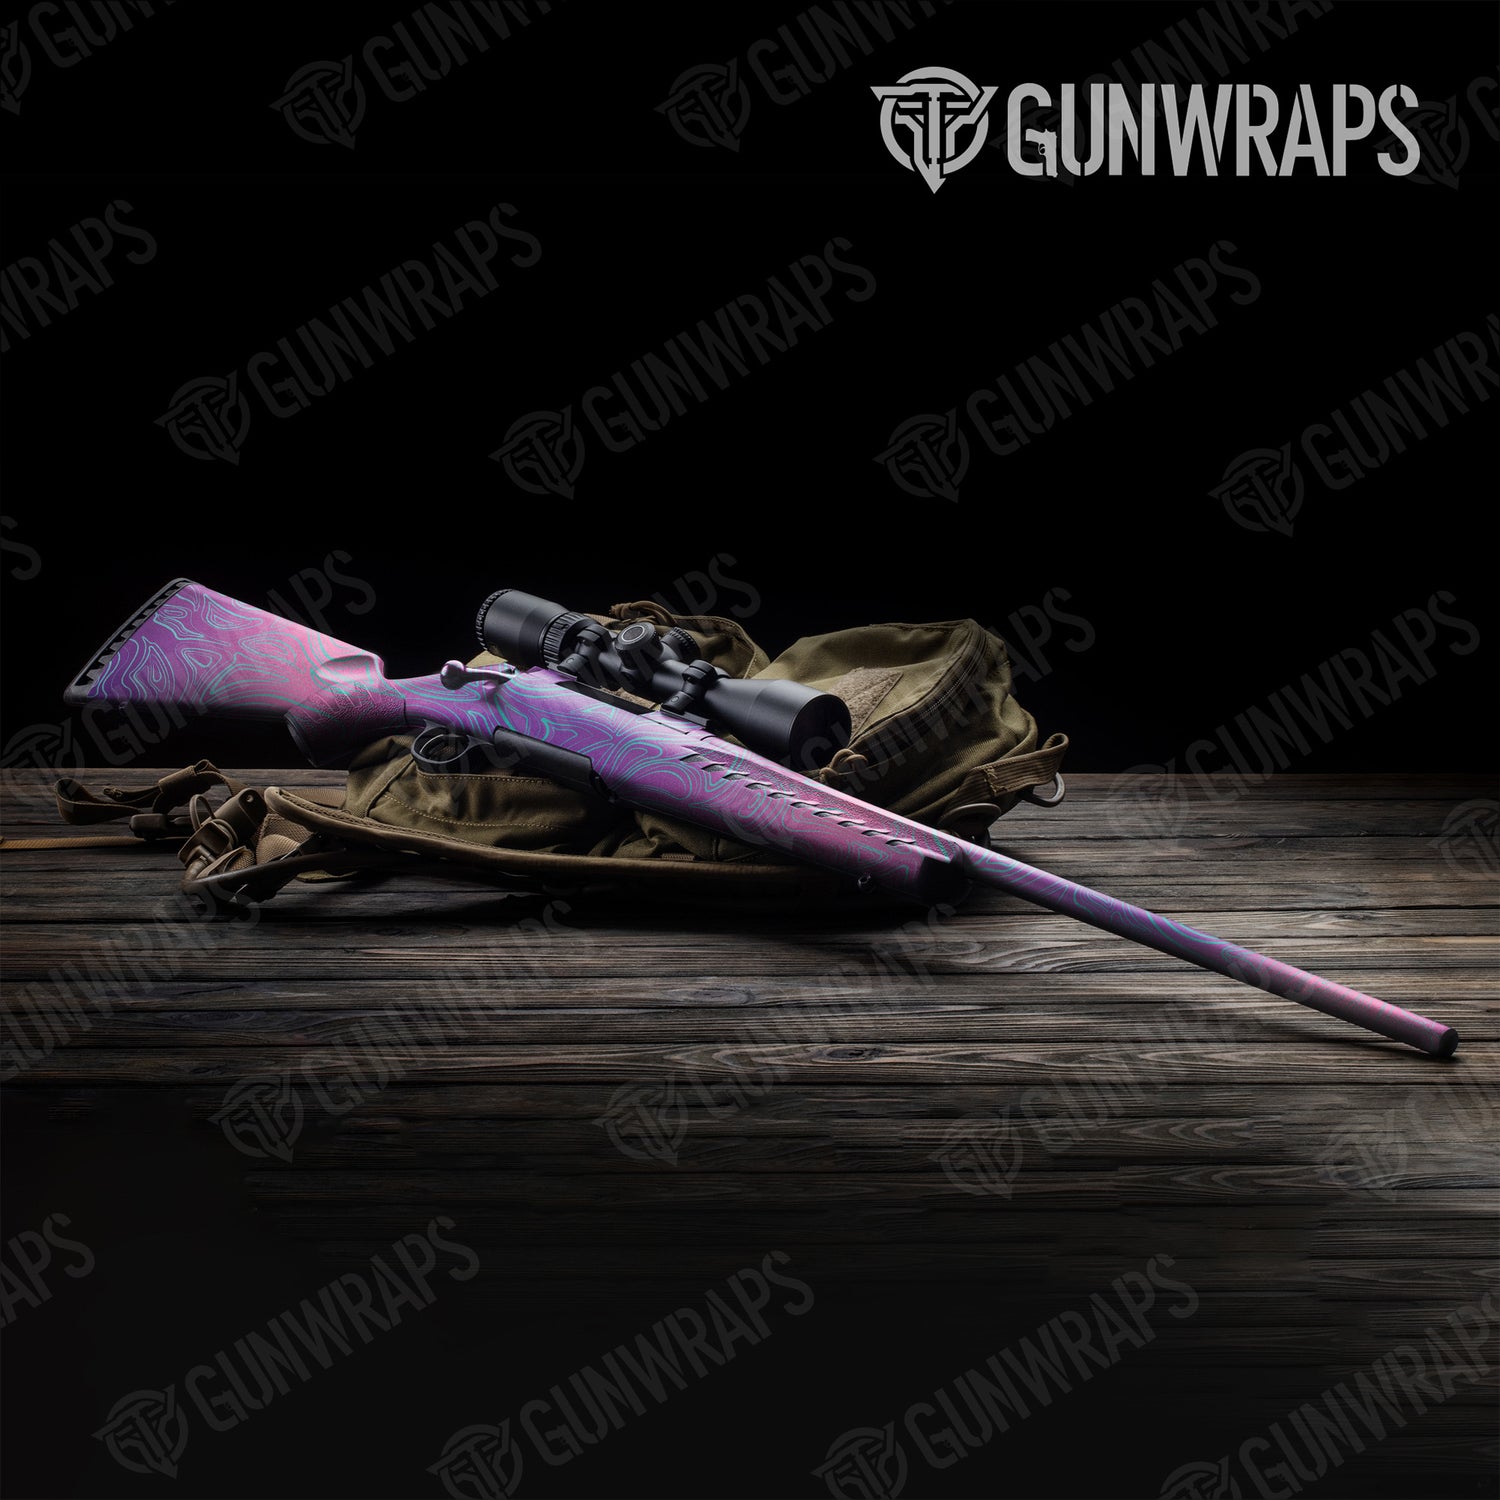
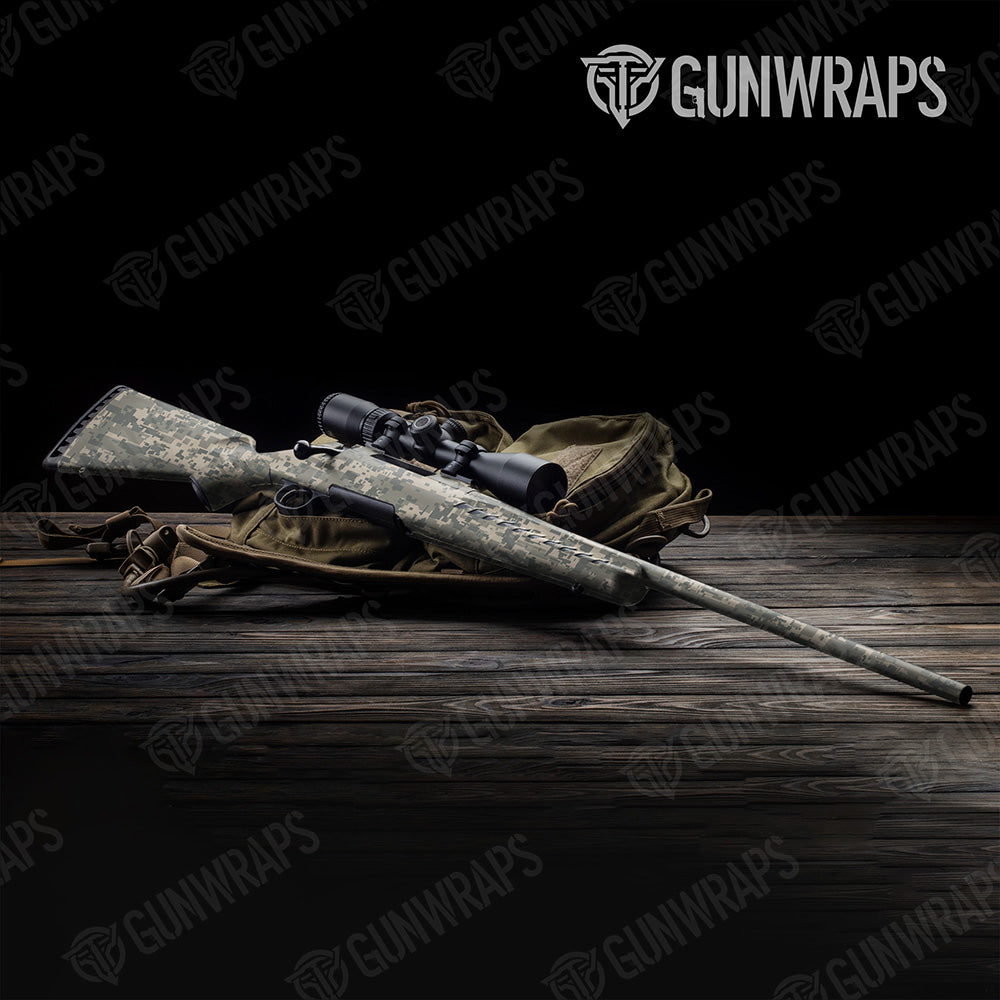
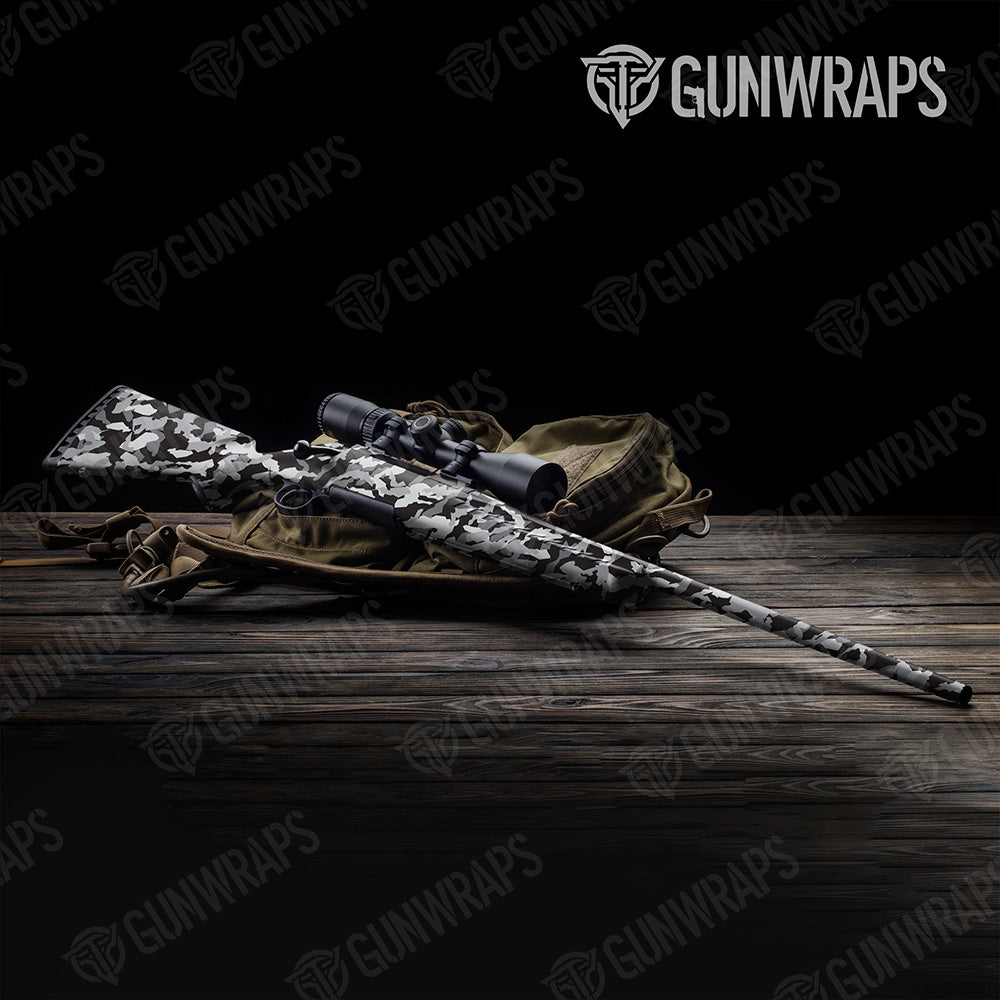
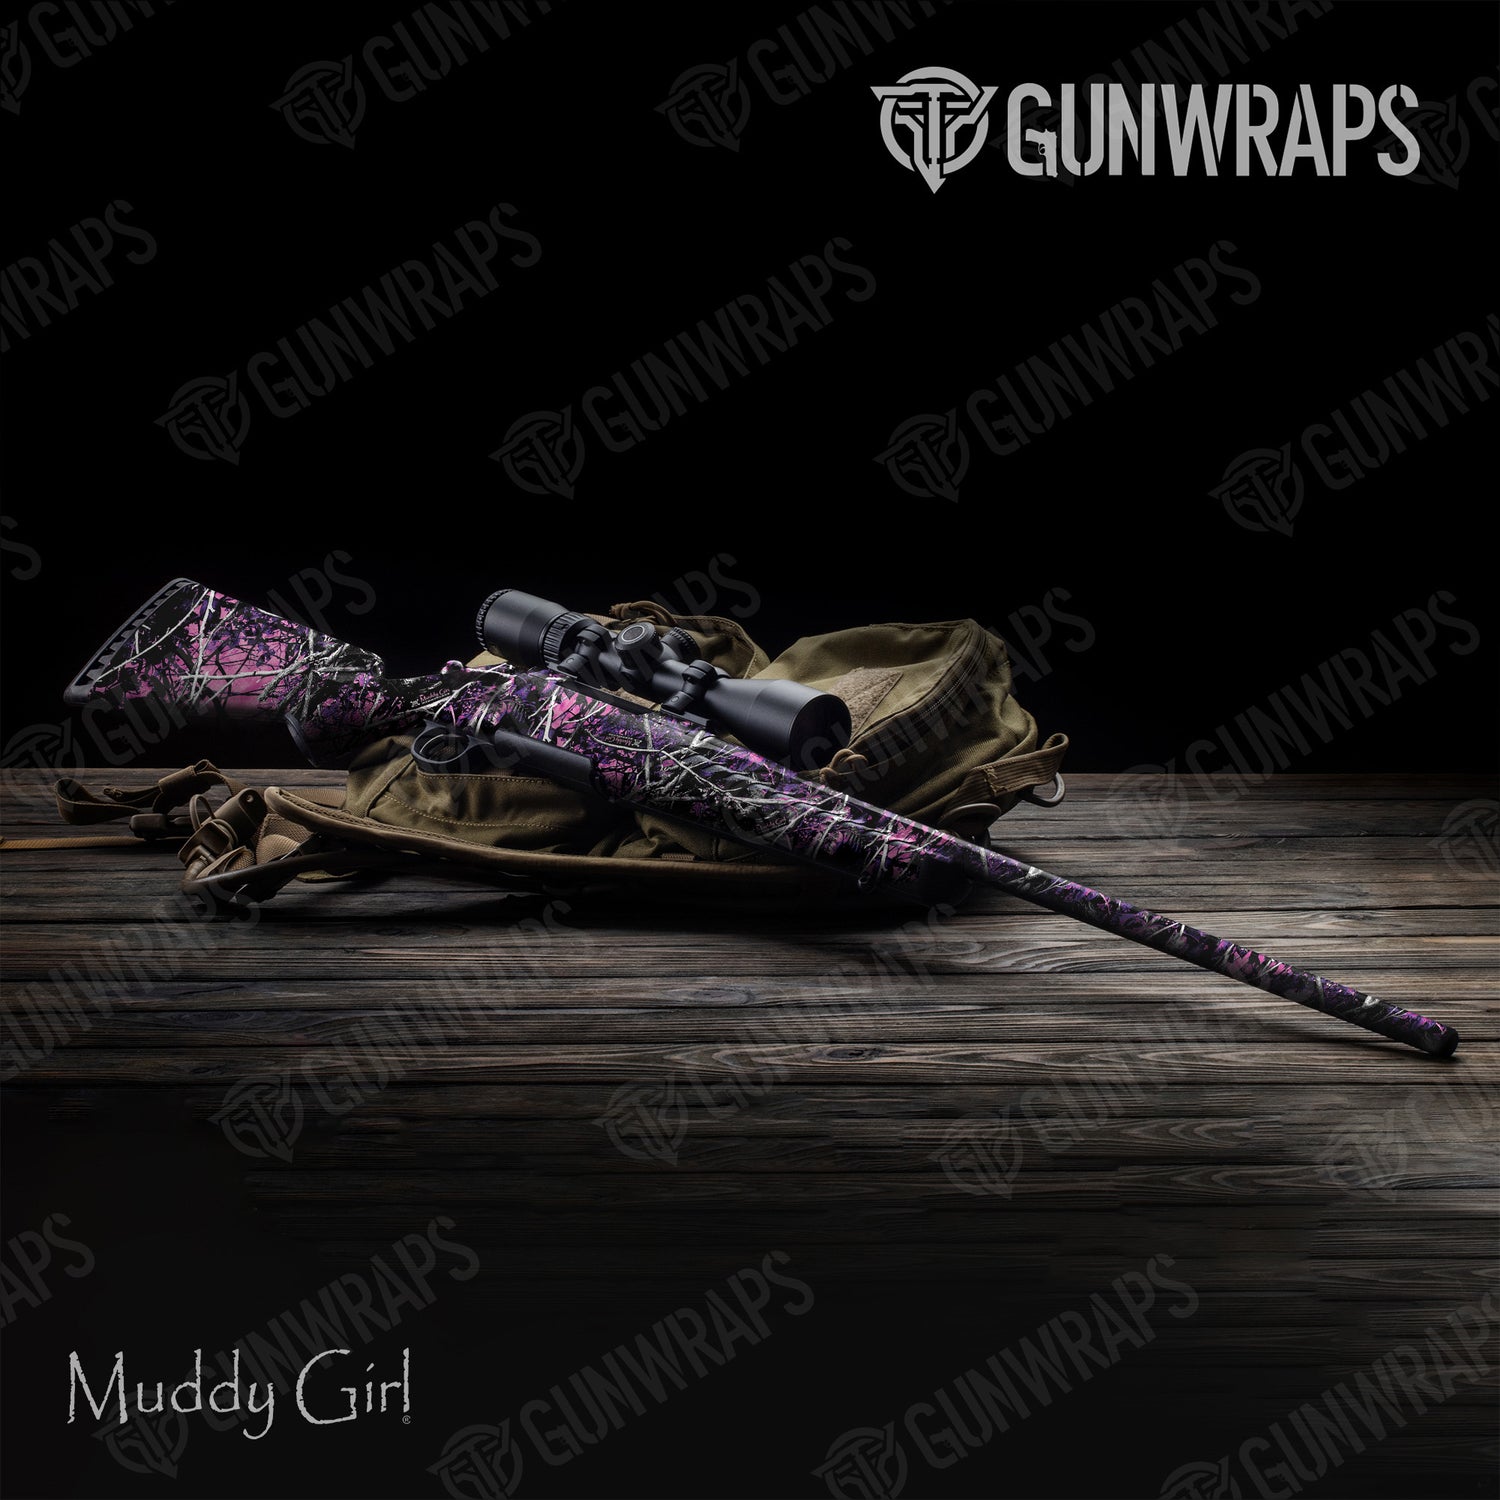
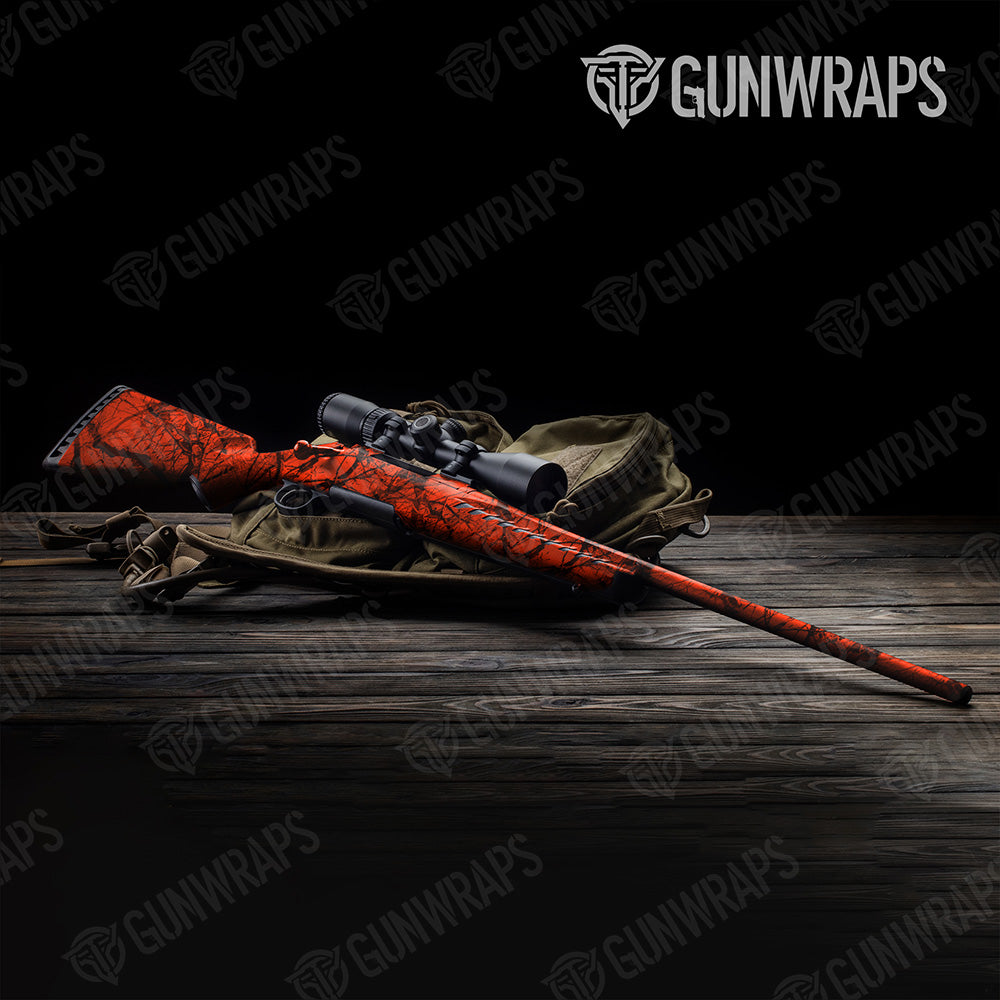
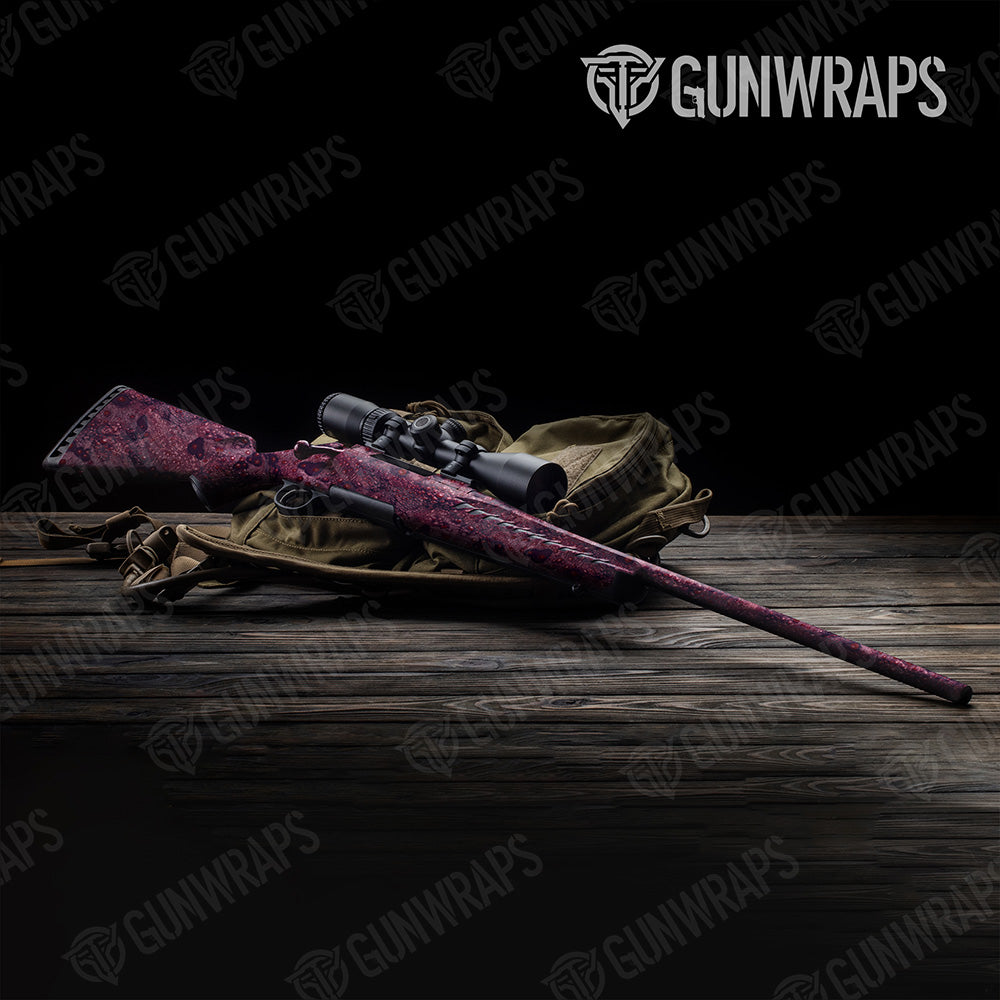
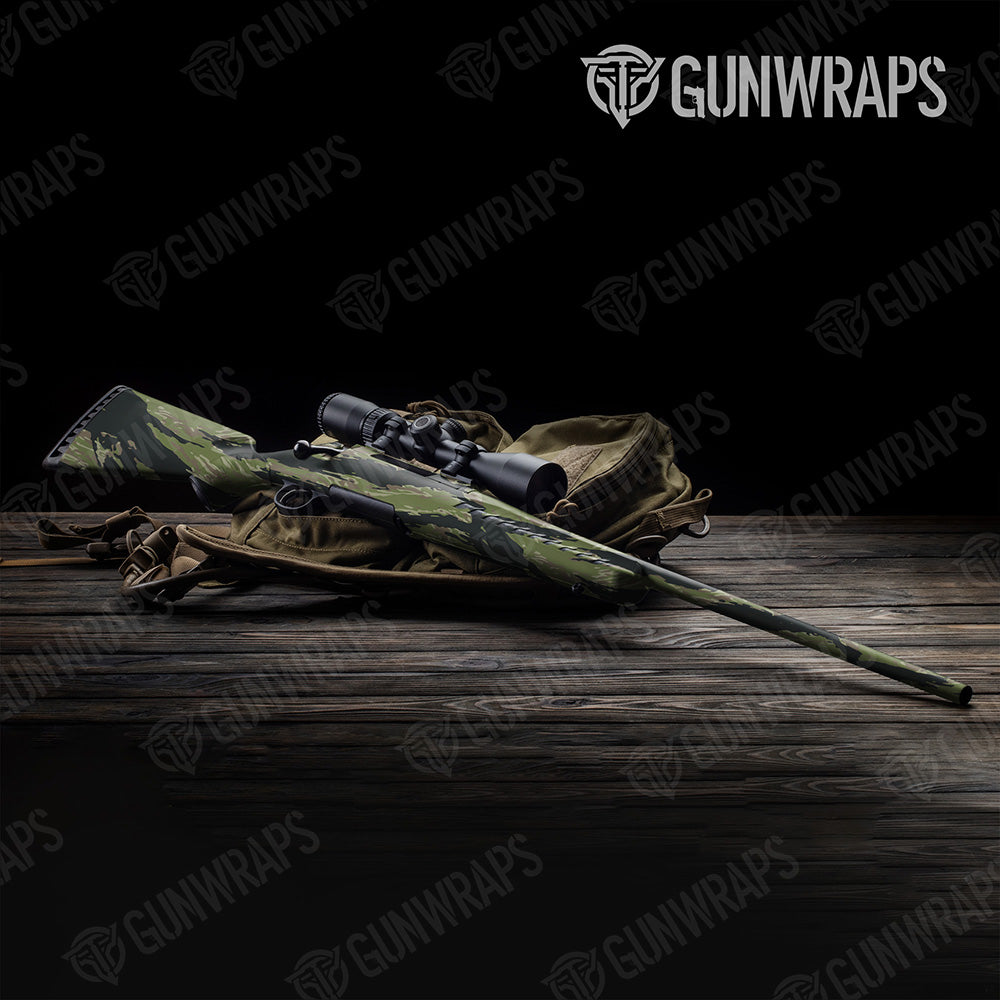
PREMIUM CAMO RIFLE KIT

PREMIUM CAMO RIFLE KIT

(No reviews yet) Write a Review
$34.99
Details:
  • Adhesive vinyl graphic
  • Fits most Rifles and front loaders
  • Allows for disassembly of your firearm for routine cleaning and maintenance
  • 5 YEAR NO FADE WARRANTY
Sizing:
  • 1 - 54” x 11.5” page with 4 - Pre-Cut Pieces
  • (2) Stock & Receiver, (1) Forend & (1) Barrel (up to 32")
Note:
Actual colors may vary from the color on your screen due to monitor color restrictions.
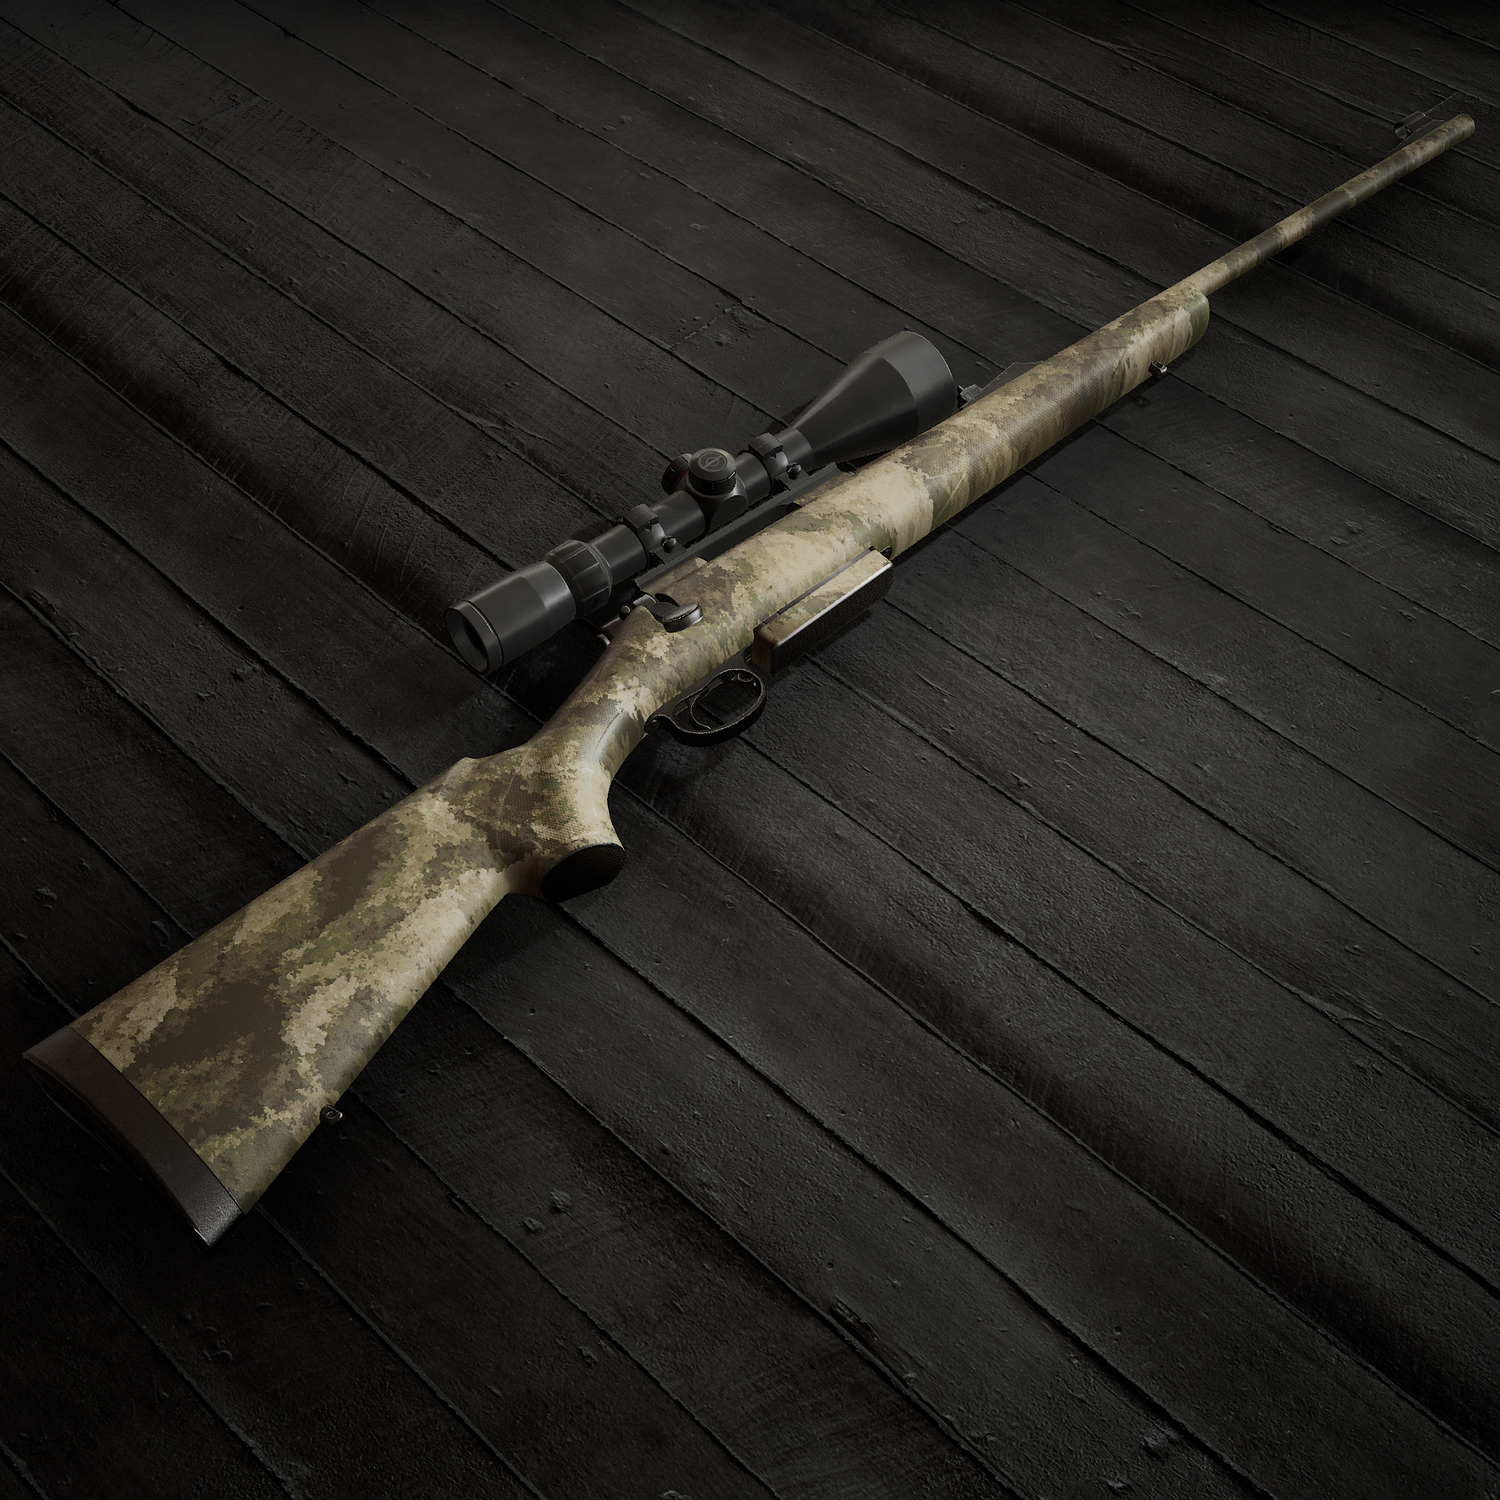
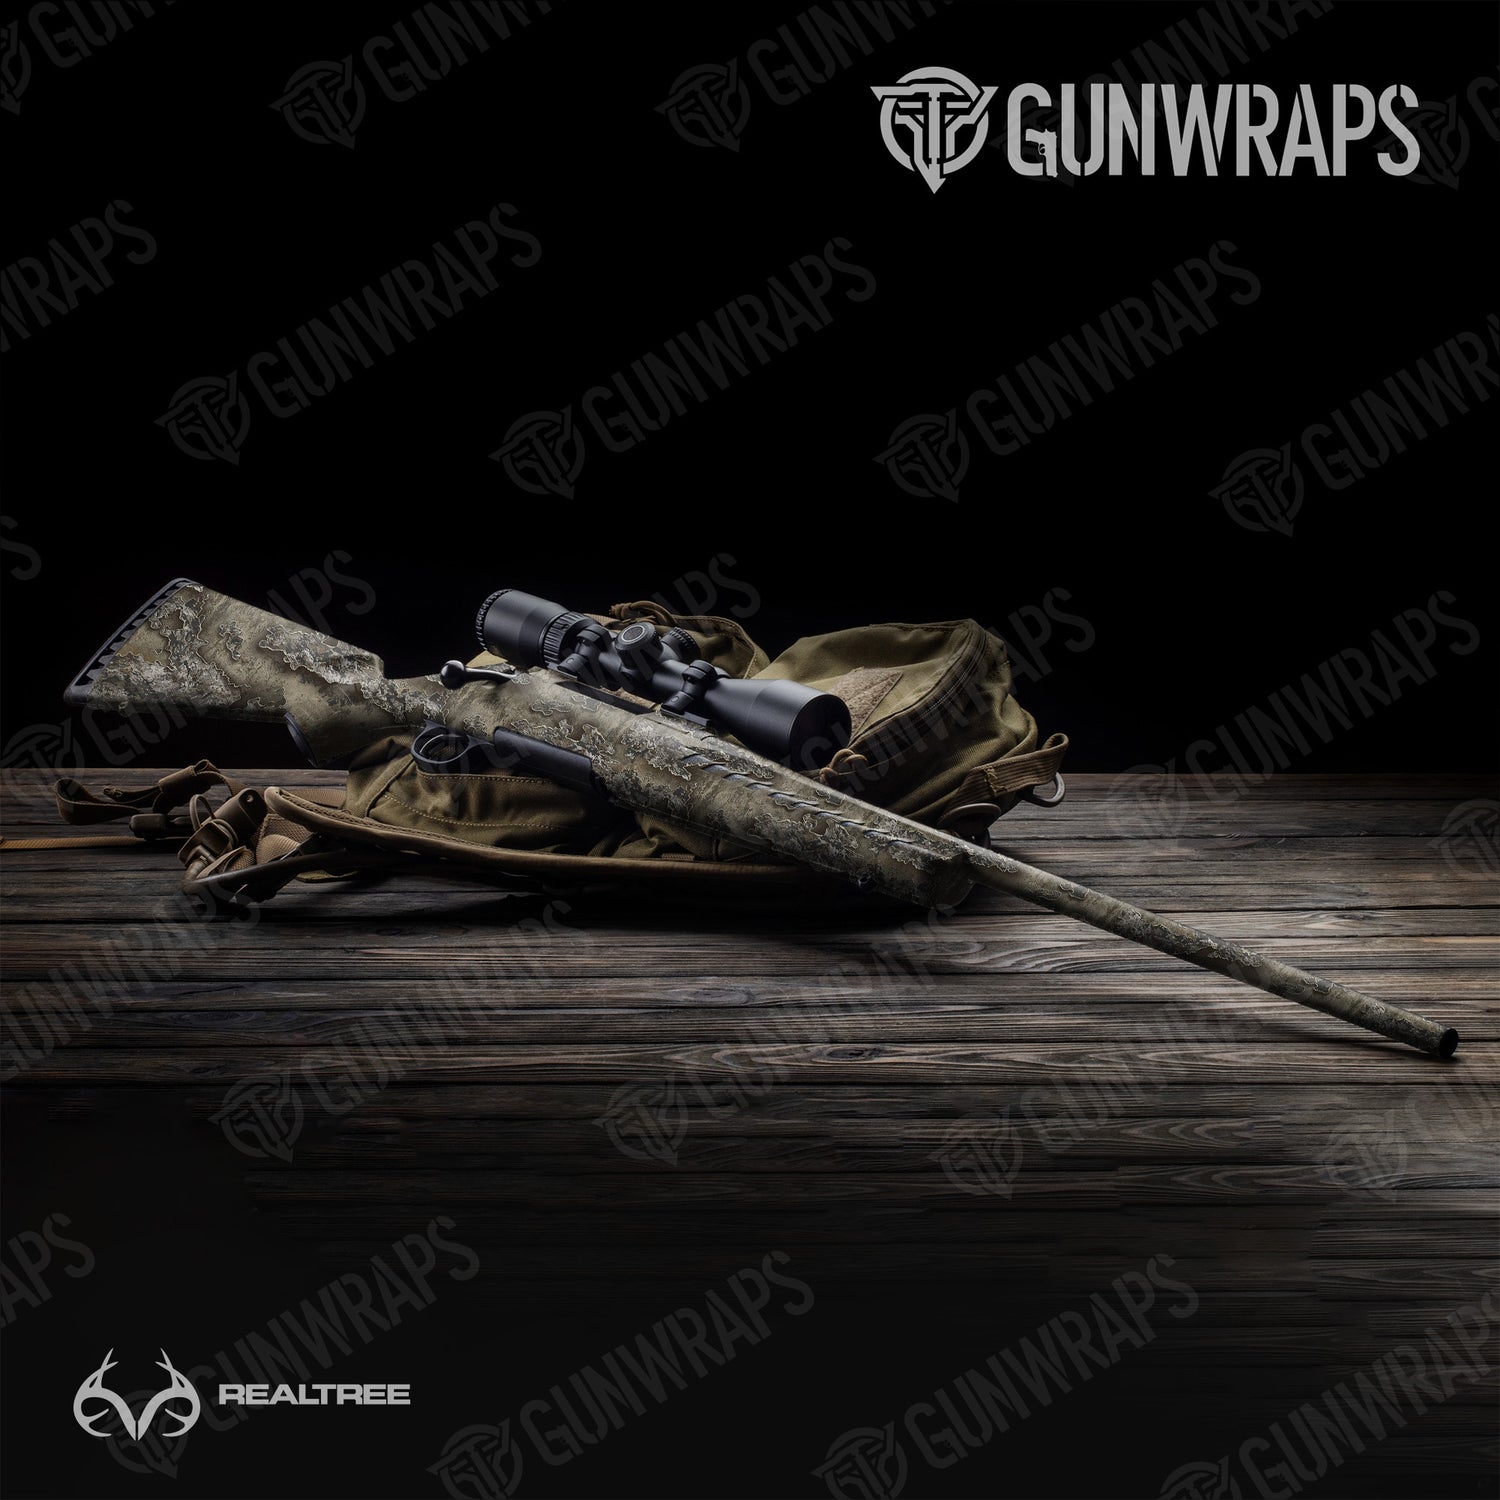
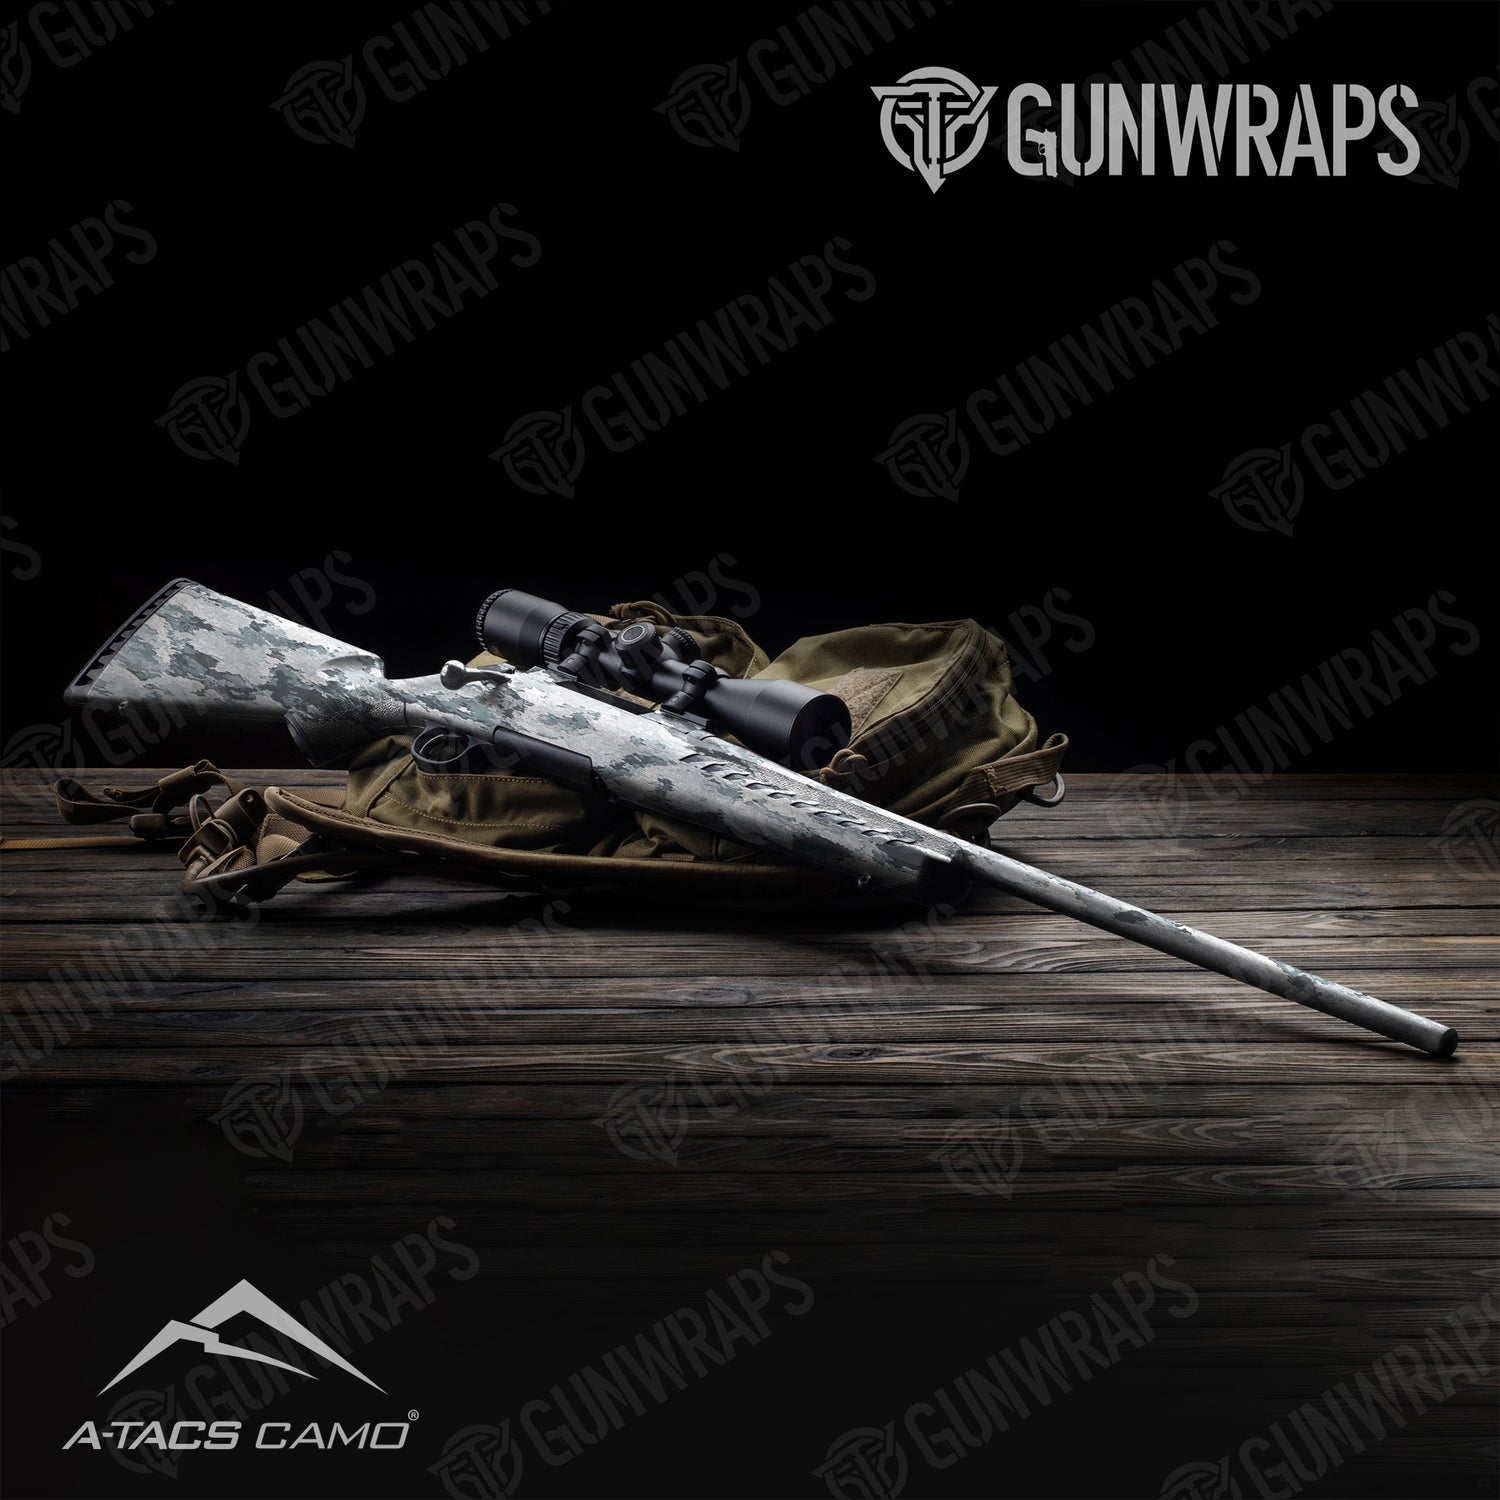
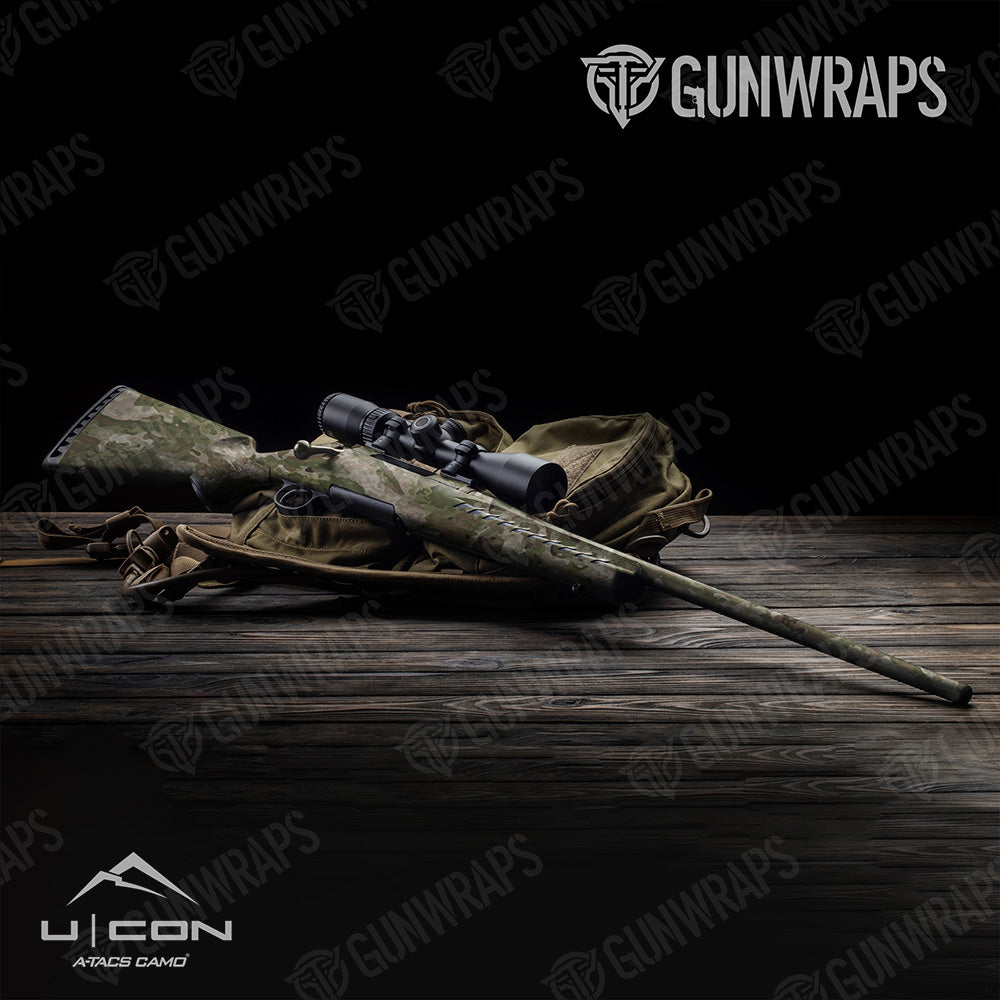
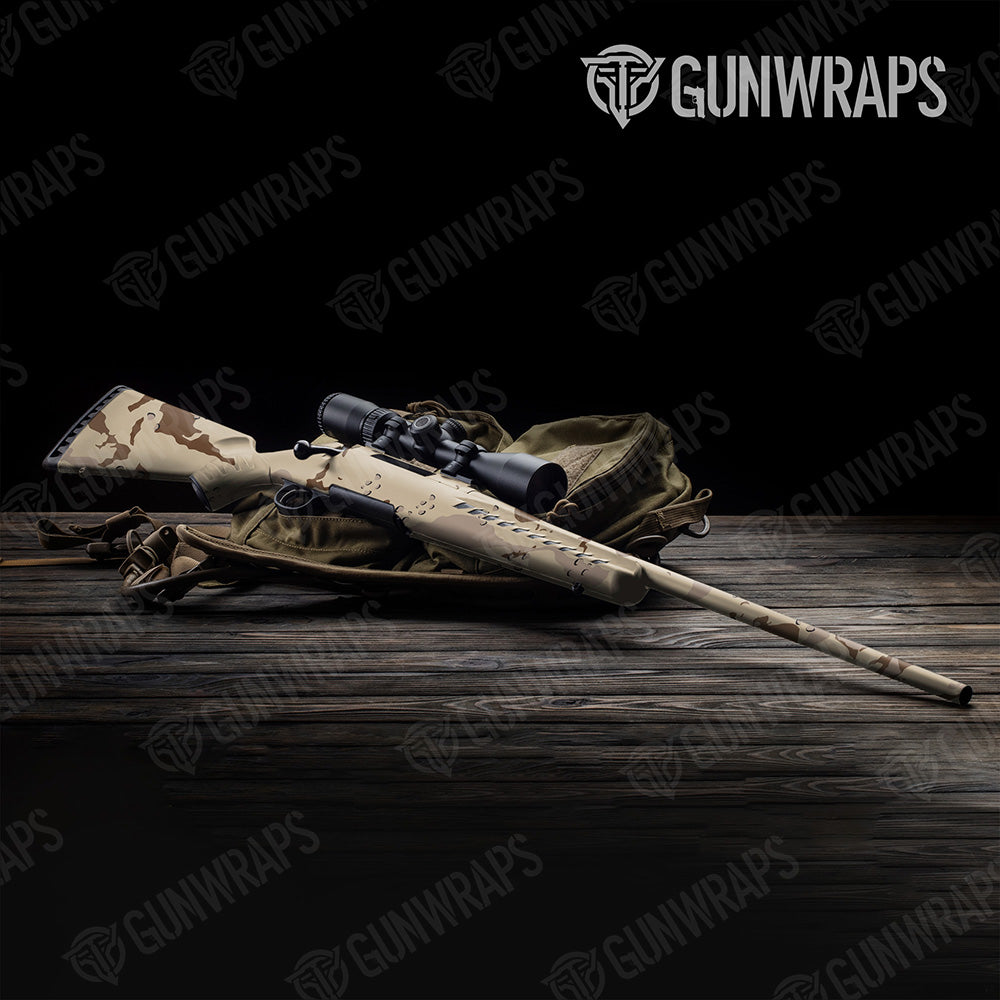
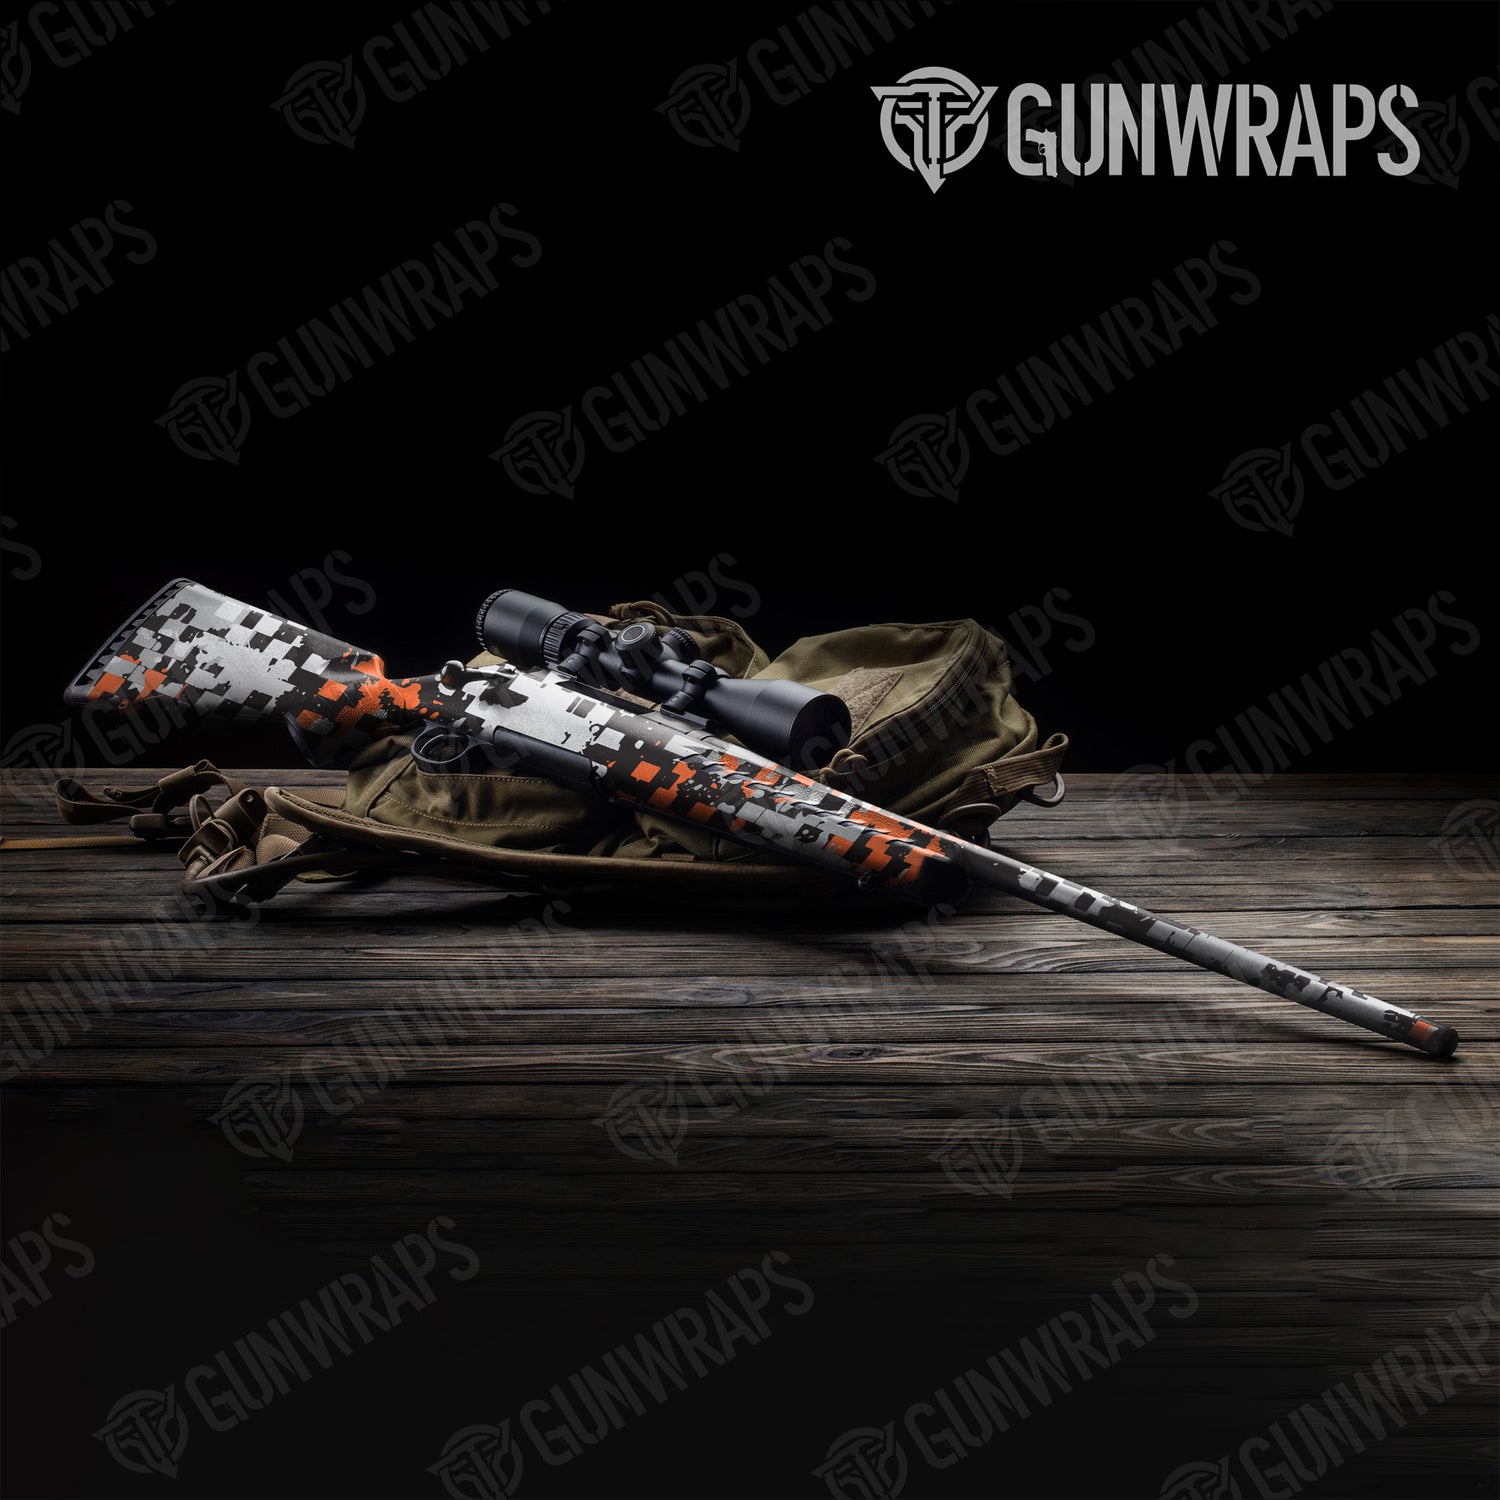
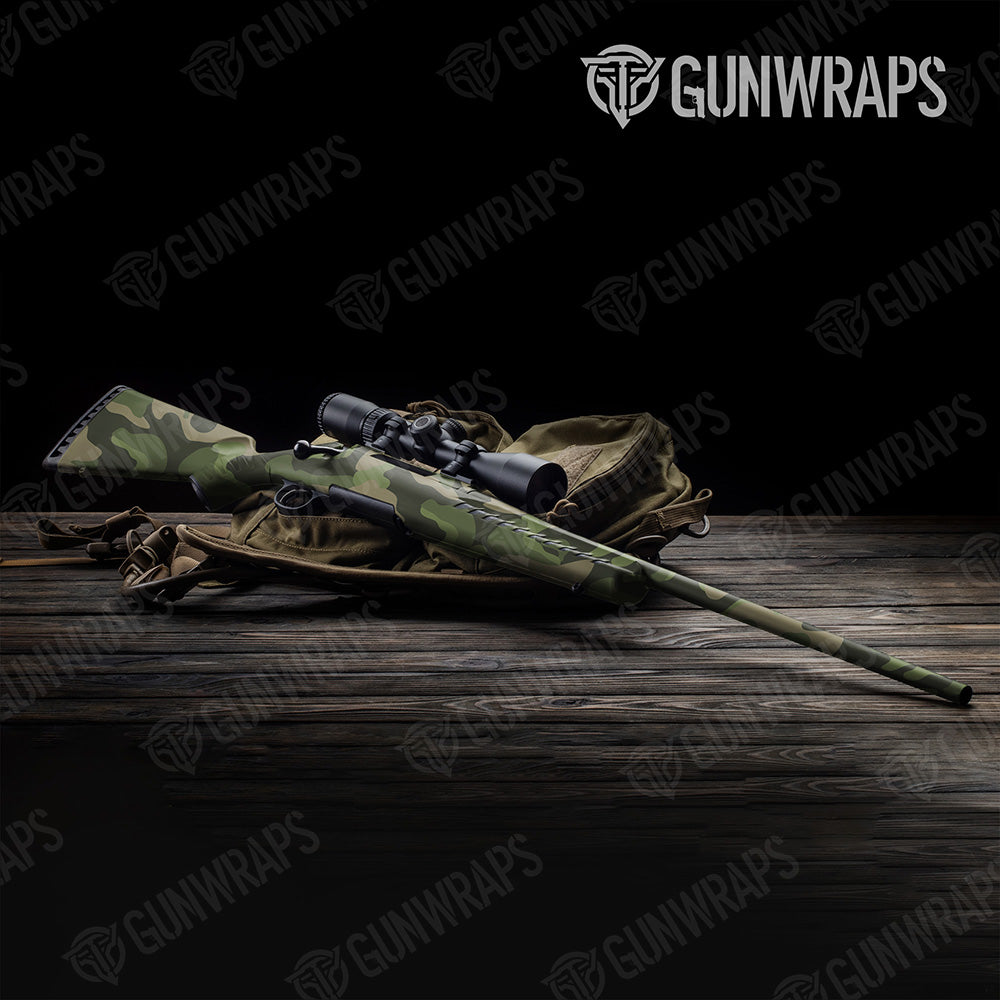
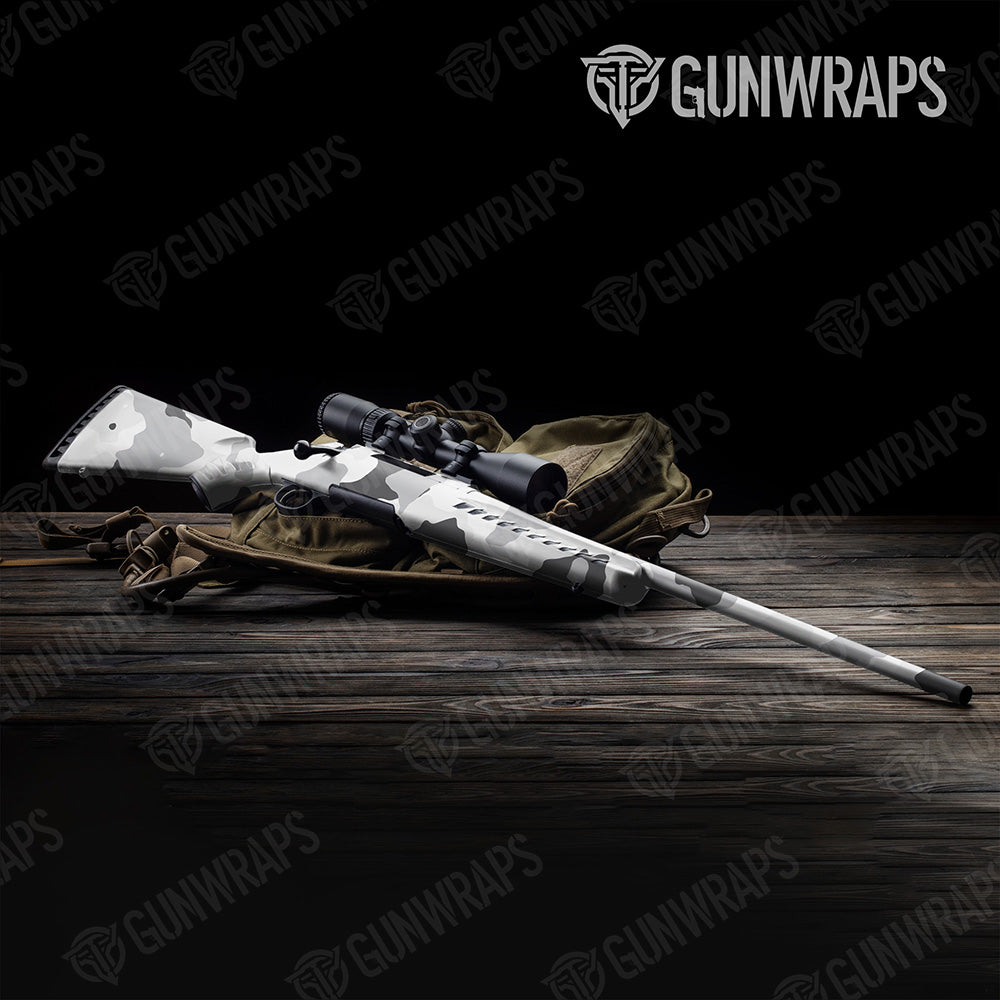
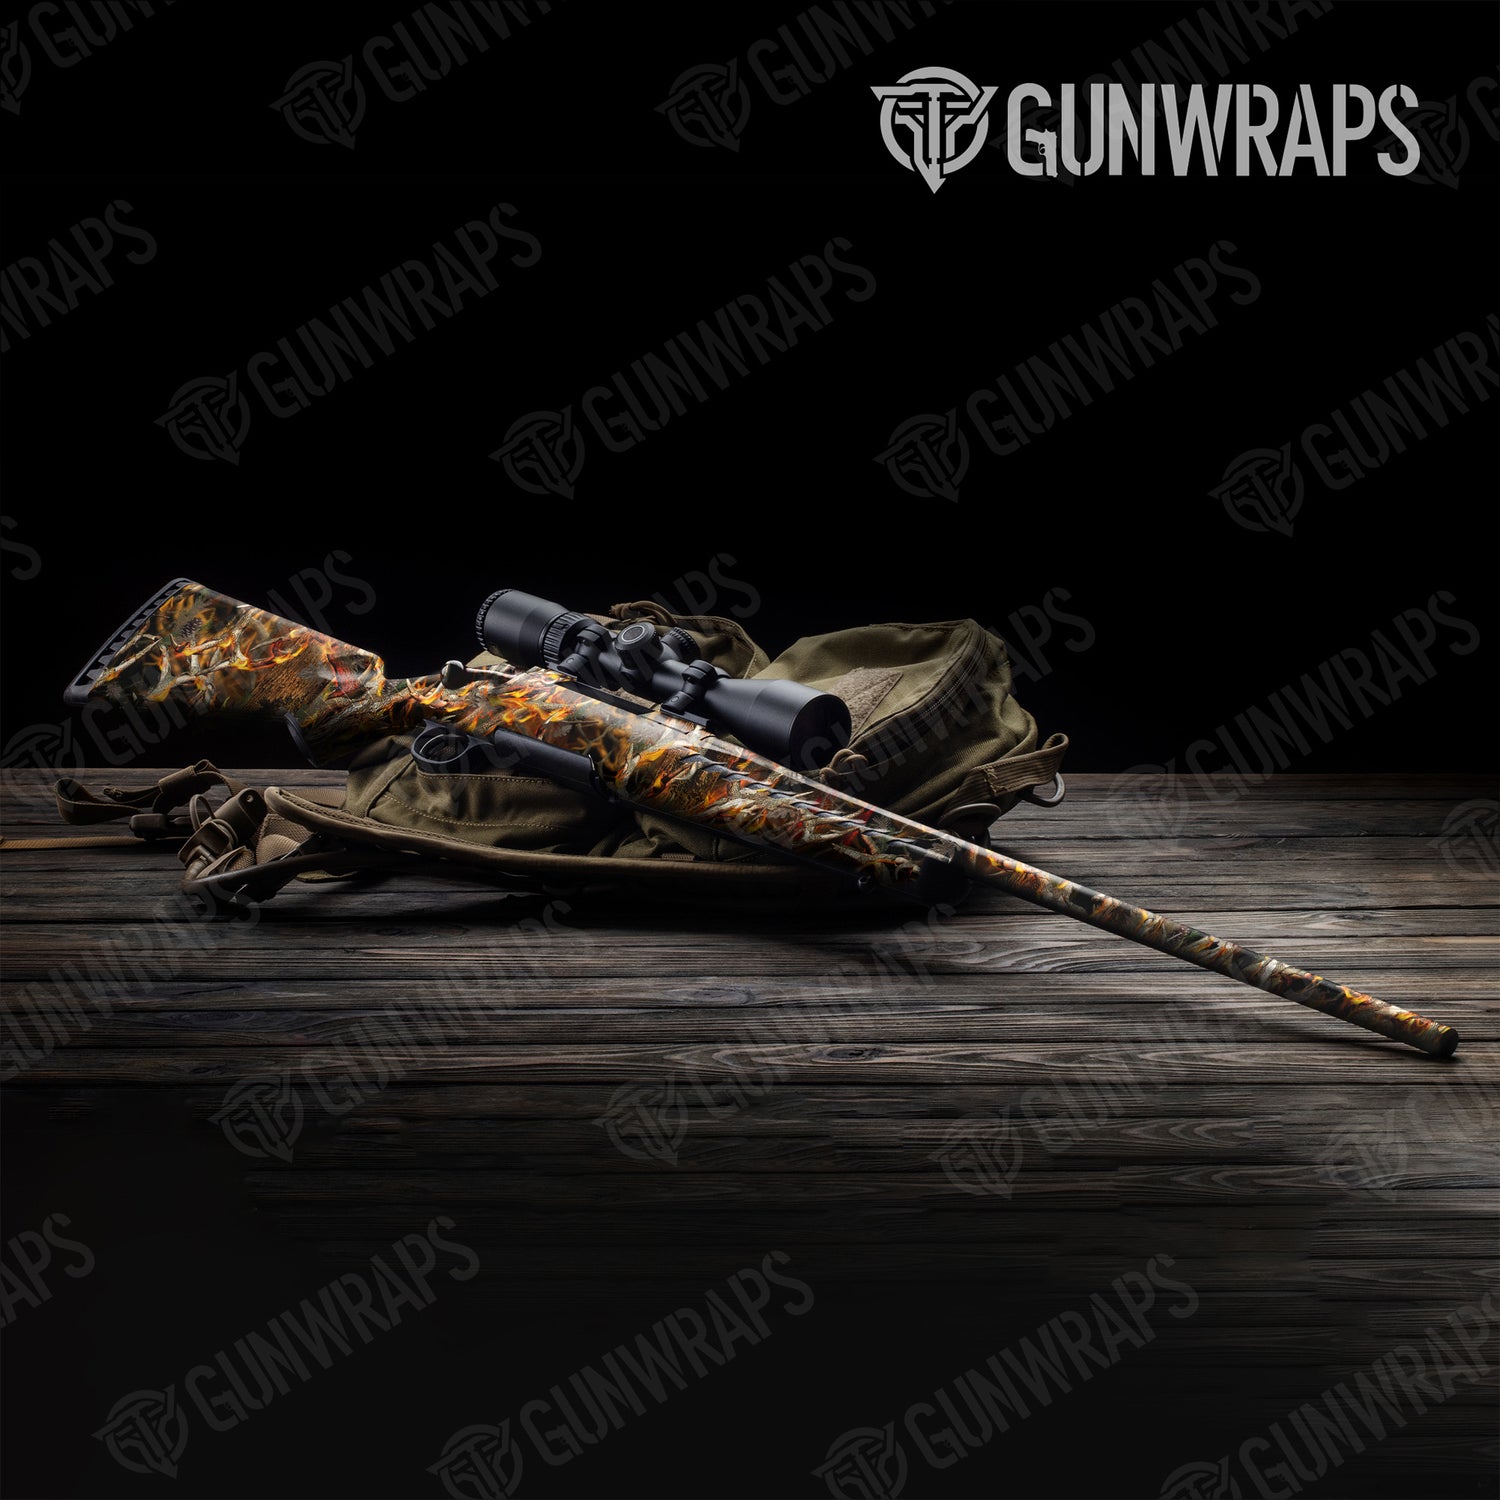
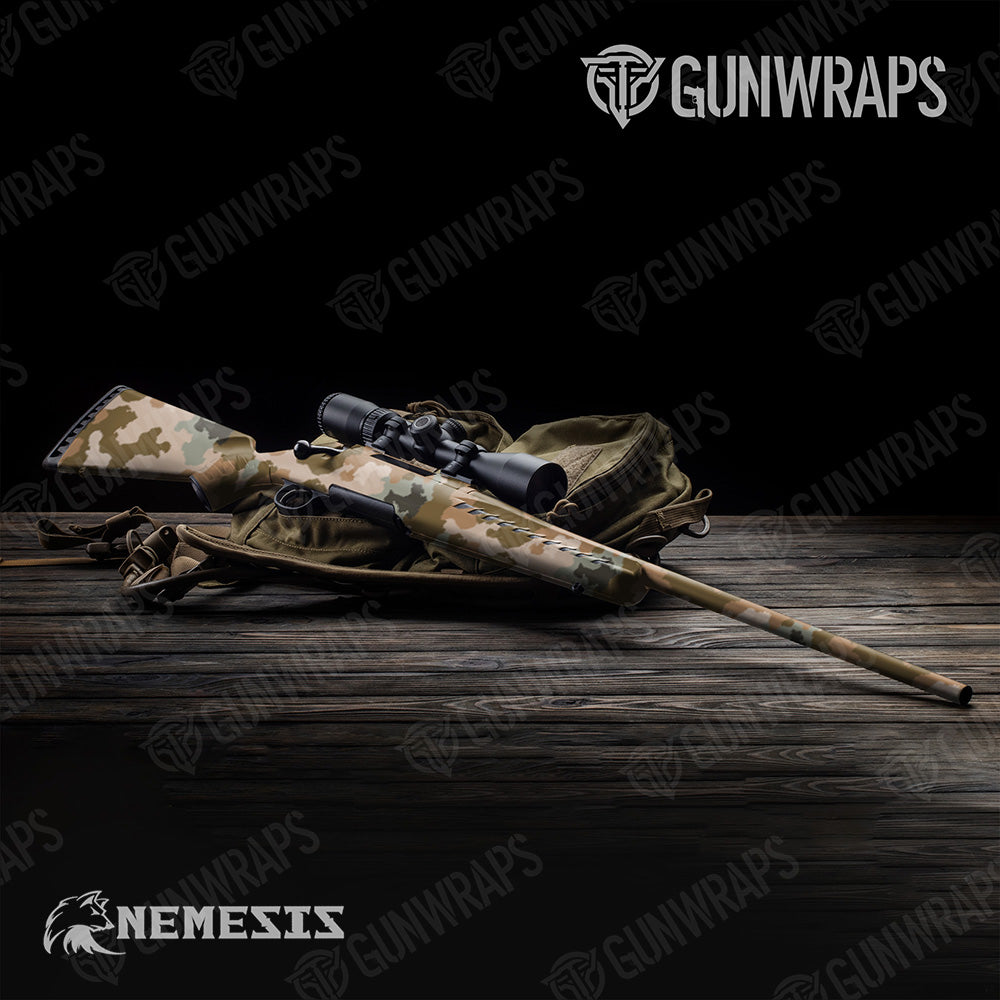
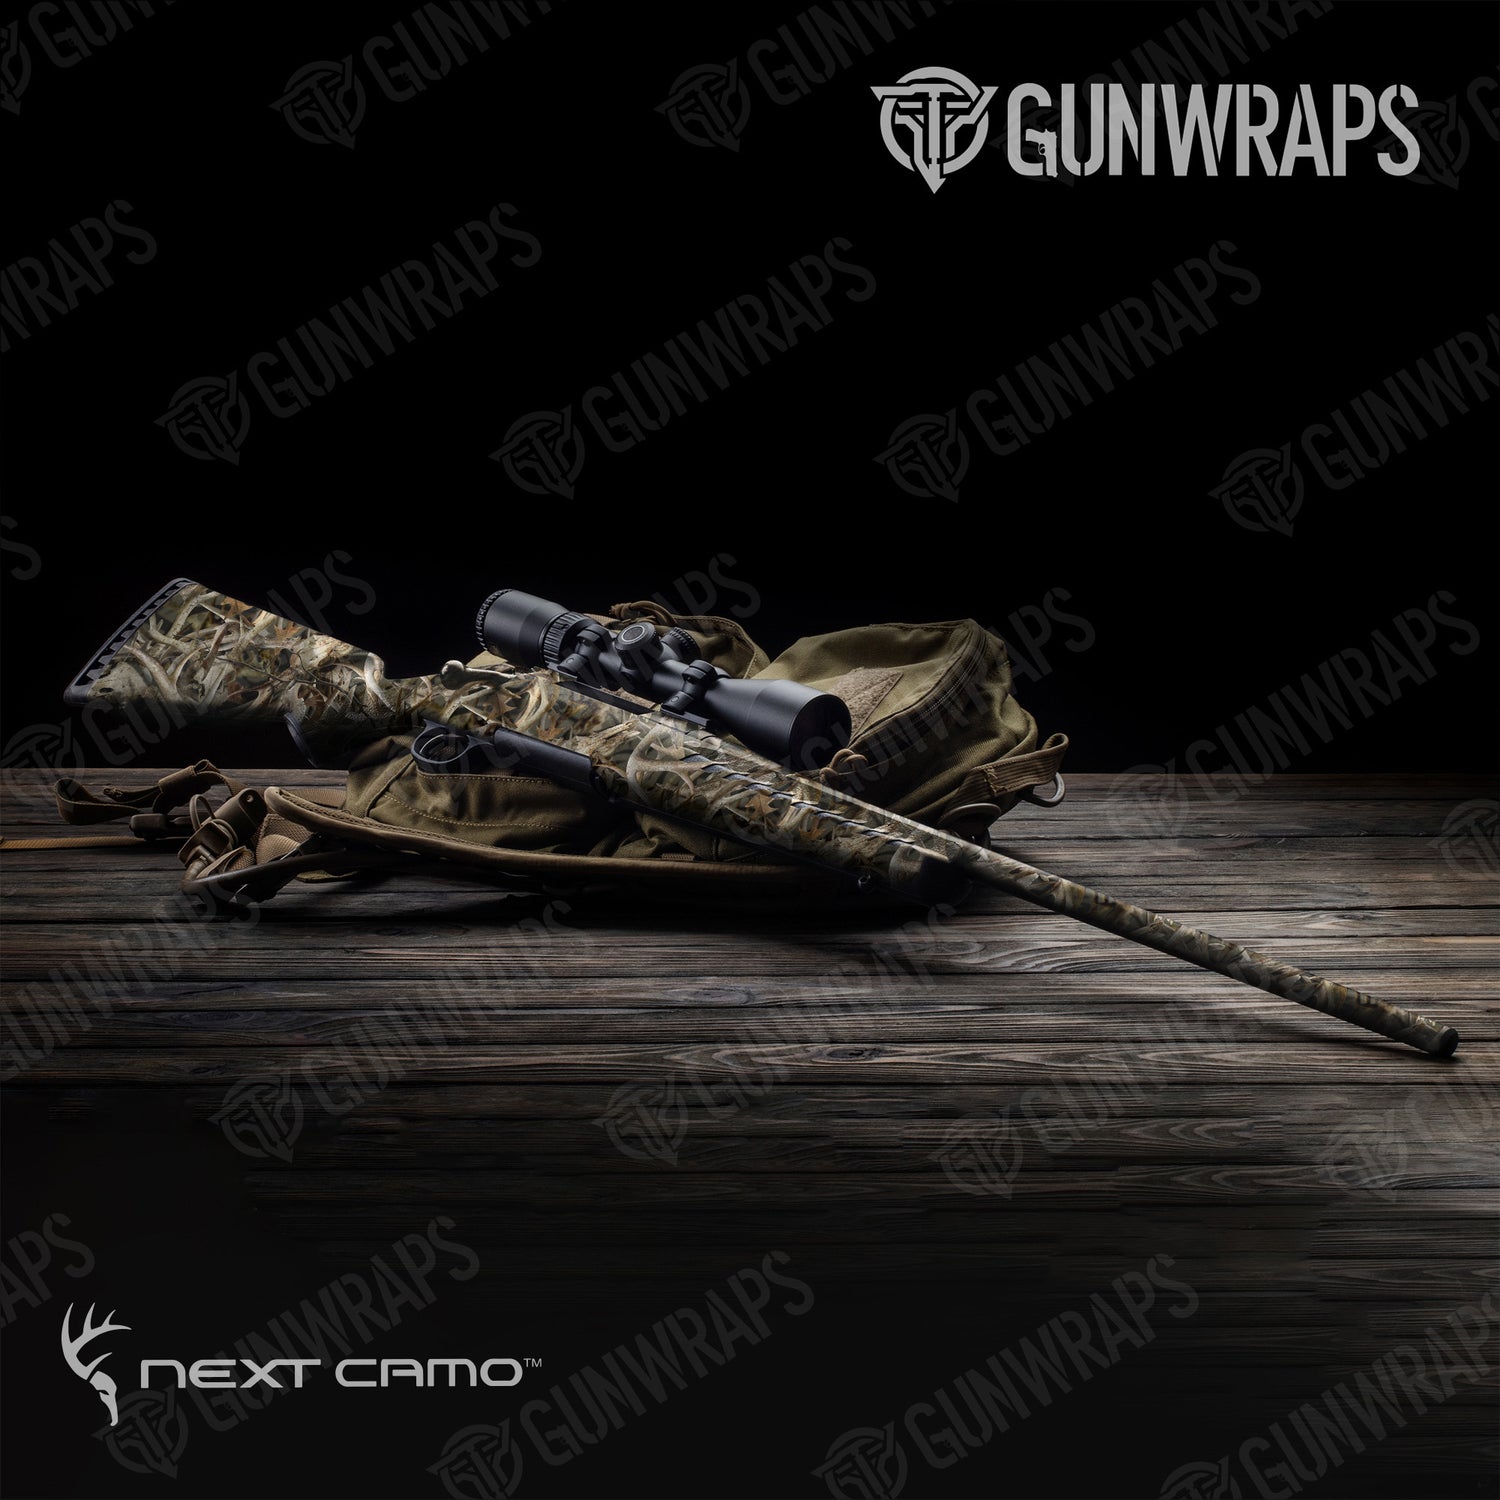
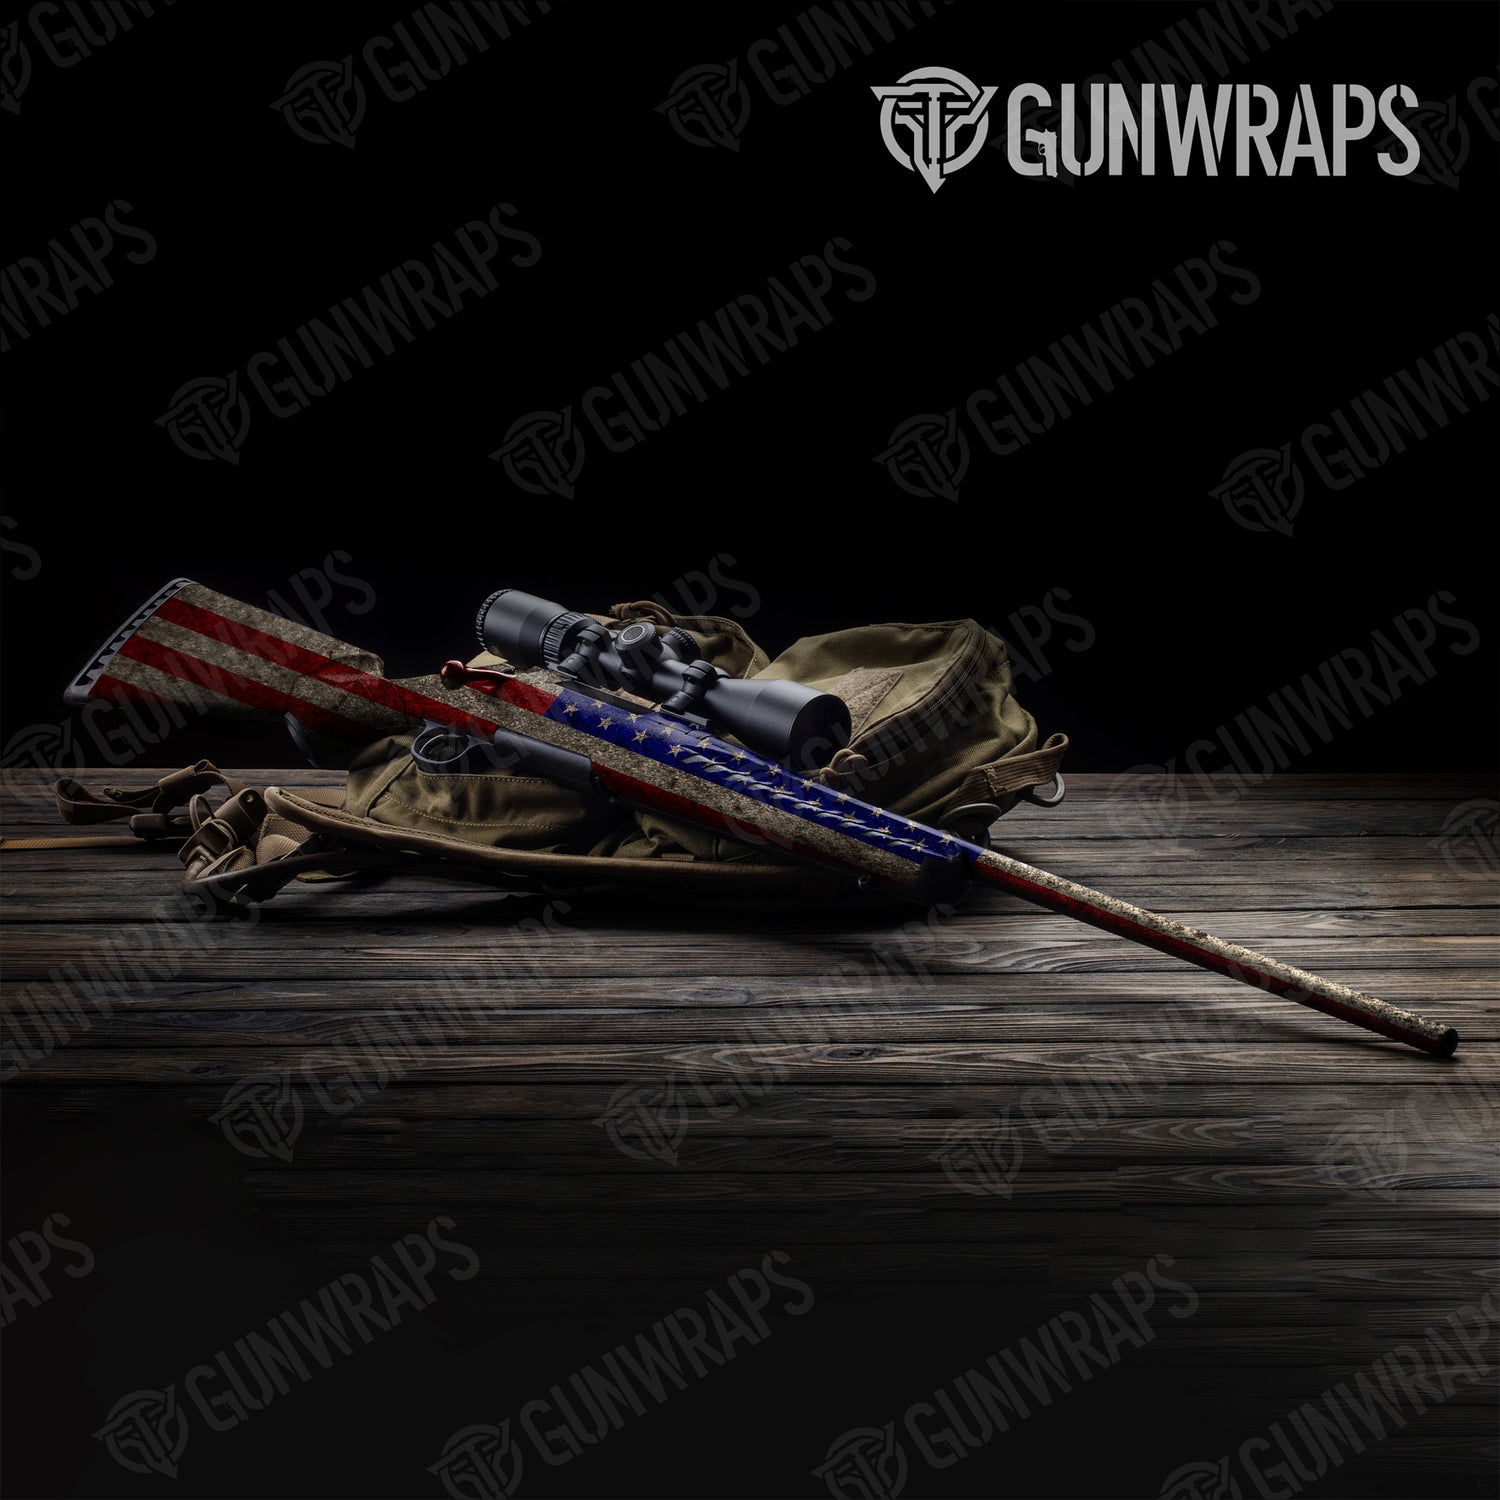
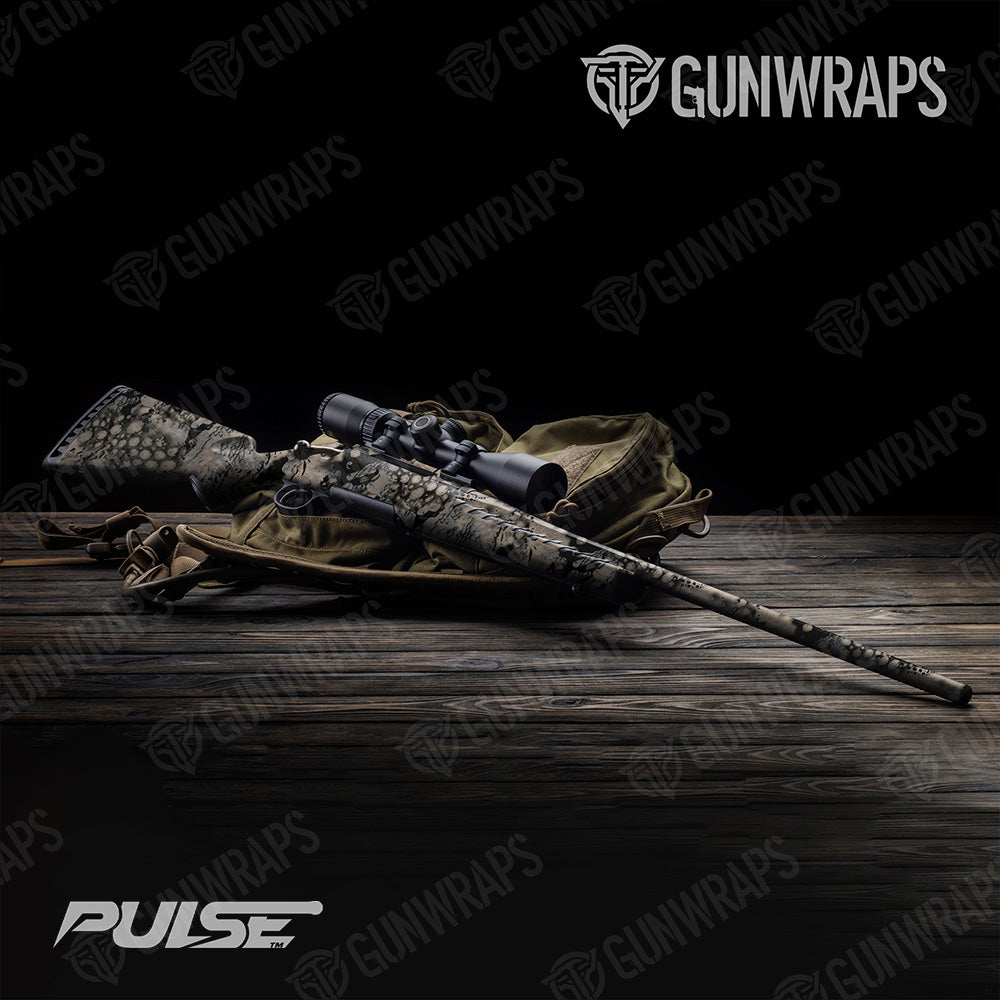
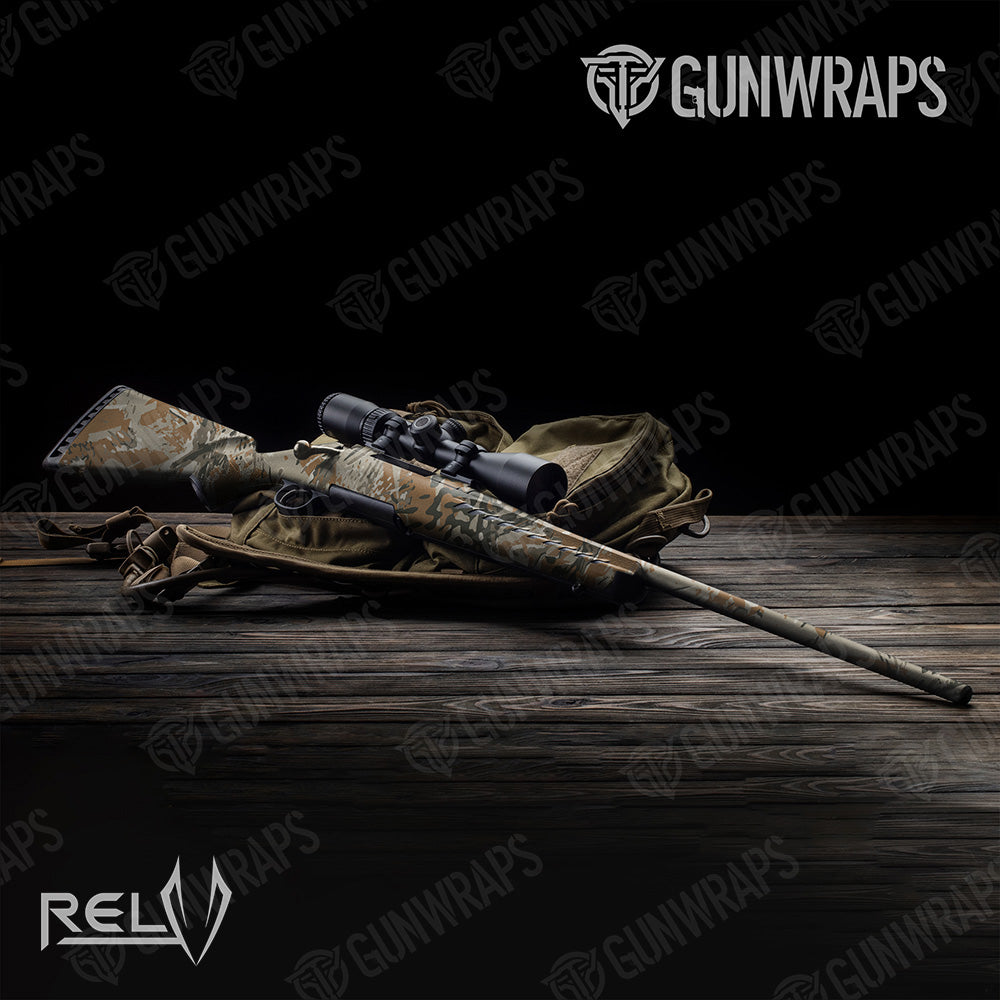
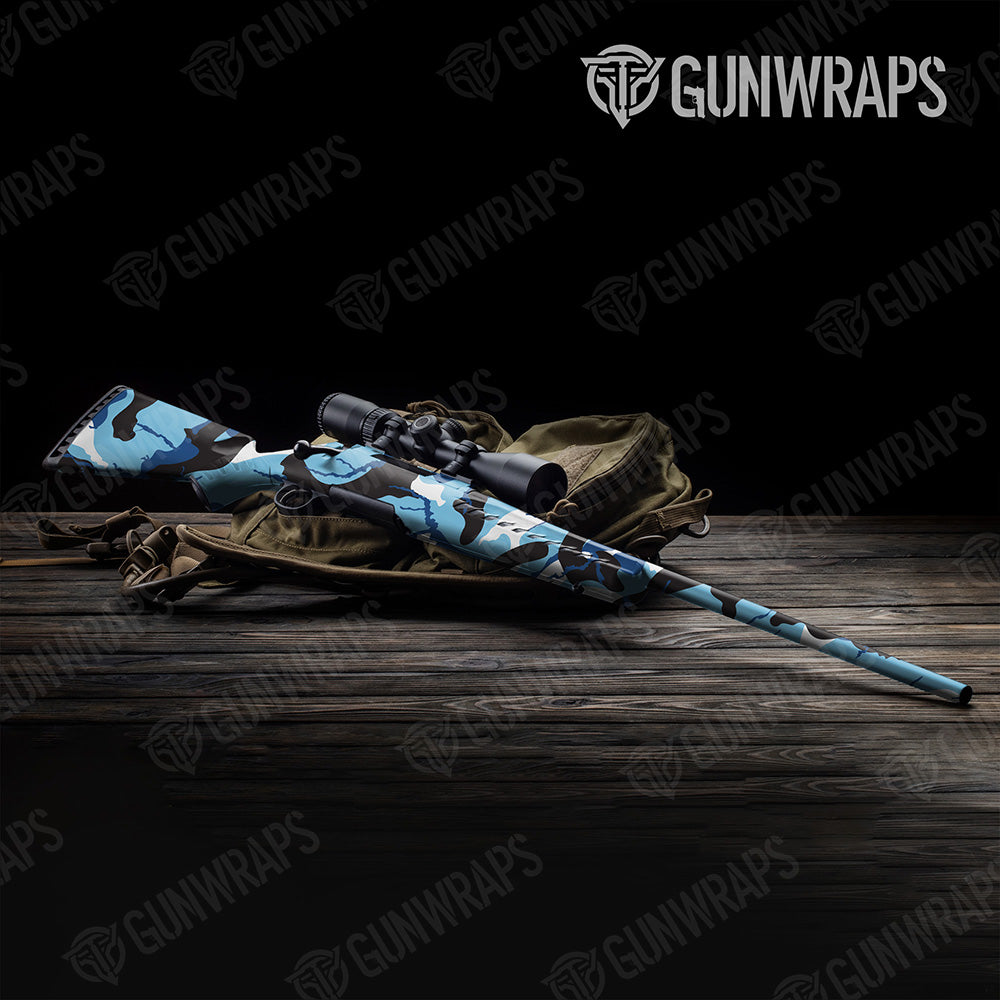
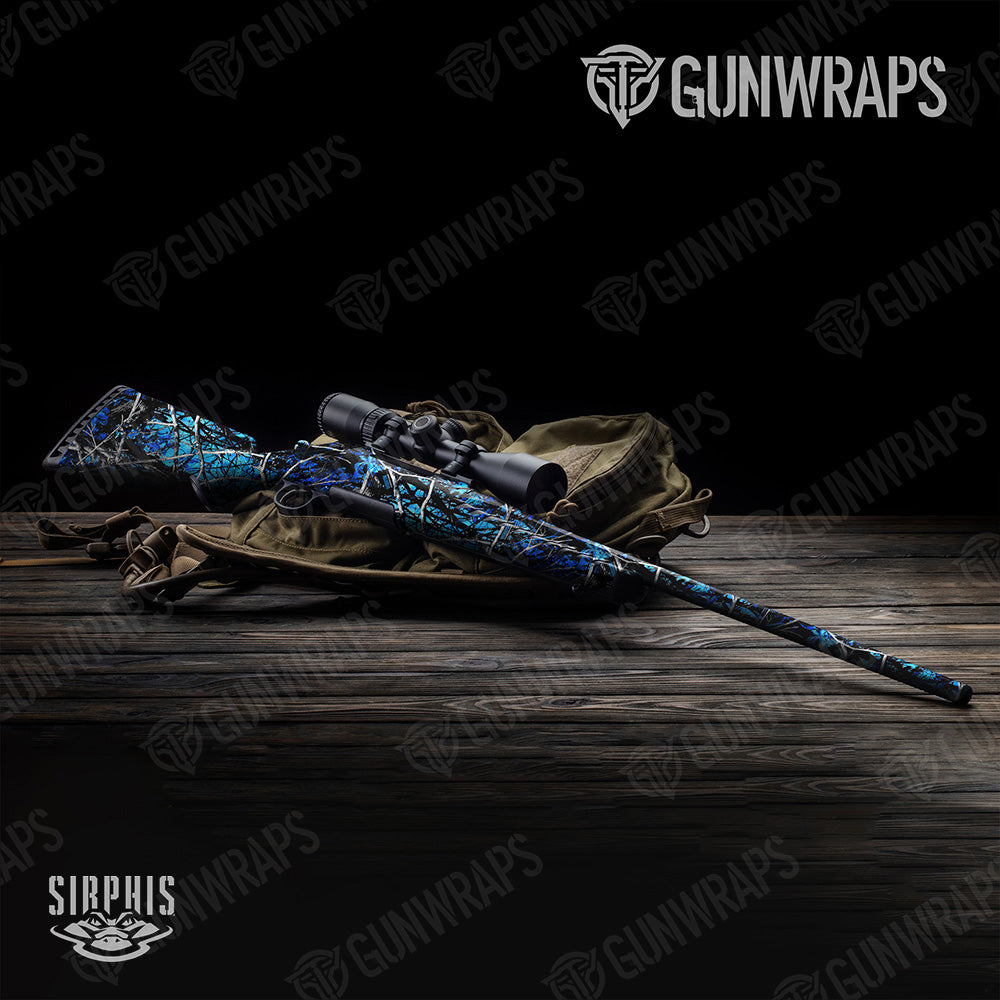
The Rifle kit in your favorite camo is a unique and affordable way to personalize your firearm. Made from our "No Glare", fade resistant material. Your firearm will not only match your hunting environment but will be protected from the elements, giving you lasting peace of mind. Kit includes (4) pre-cut pieces that conform easily to the curves of your barrel, forend, & stock. Matte Finish.
Necessary Tools
  • Mild Soap & Water Mixture or Alcohol - to clean the surface.
  • Lint Free Paper Towel or Cloth – to dry the surface.
  • Low-Tack Masking Tape – to tack in place or create a hinge.
  • Squeegee or Credit Card – for applying vinyl
  • Air Release Tool – to remove any trapped air bubbles that may form.
  • Hobby Knife (OFLA or XACTO knife) – for trimming away excess vinyl.
  • Heat Gun – for heating vinyl on complicated installations.
Before Graphic Installation
  • The first step in any successful application is cleaning your camo project before Installation.
  • For a Rifle Kit wrap, the day before application, the Rifle should be field stripped and cleaned thoroughly on all areas the camo will be applied. Making sure that no residue is on the surfaces.
  • Complete this process using a solvent that is safe for the materials your Rifle is made of.
  • Let Rifle dry completely over night to make sure you have good adhesion with the vinyl.
How to Install Your Camo Rifle Kit
  1. UNLOAD GUN!
  2. Field Strip Gun
  3. Clean outside of Gun with Alcohol removing all excess dirt or oil, then wipe Dry.
  4. Identify the Pieces in the Kit from the Diagram Below.
  5. Note the Diagram for Relief Cut Locations for the Stock & Forend. Trim accordingly to your gun.
  6. Remove back paper Liner to Expose Adhesive., Position Camo Pieces over area and lightly press down using your fingers to smooth into place. (If piece is not positioned properly, carefully remove and reposition.)
  7. When all pieces are positioned properly and smoothed, use included squeegee with firm pressure on a 45° angle to set the adhesive.
  8. Finish trimming using light pressure with a sharp razor blade as to not scratch the finish of your gun. Stick any bubbles with a pin and re-squeegee to remove the trapped air.
Your Kit Contains STOCK & RECEIVER: Pieces are lined up Towards the Rear of the Stock. Make a RELIEF CUTin top of piece as indicated on Diagram Below. Use firm finger pressure to apply, overlapping cut area slightly. Trim with sharp razor blade at front of receiver and ejection port. Use firm finger pressure to conform to stock. Trim flush at bottom of pistol grip. You may have to use cut pieces to cover the bottom area of the Finger Grip.

FOREND: Trim piece to fit profile of forend. RELIEF CUTS may be necessary at front or rear edge of pieces to conform to forend taper. See Diagram Below. Make sure to cut out any ejection ports you may have on the Forend area.

BARREL: Pieces should be started at a point towards the front of Barrel behind Site. Using firm finger pressure, conform to barrel being sure to overlap at bottom of barrel.

How to Remove Heat the Camo with Heat gun or Hair Dryer for several seconds and continue to heat as you peel the material from the surface on a 120° angle. Any residue can be removed with a Citrus Based remover or Alcohol.
Relief Cut Diagram
Write a Review
This product hasn't received any reviews yet. Be the first to review this product!

Returns Policy

Camowraps is committed to providing quality products that are sure to surpass expectations. However, if you are unsatisfied with your purchase, you can exchange or return your undamaged, uninstalled graphic within 90 days of delivery. After 30 days of delivery, products will be subject to a restocking fee.

To obtain your refund/exchange, please contact our customer service department at 1-866-226-6626. Return items should be in their original packaging, include all packing materials and receipt. 

Defected or Damaged Product Returns:

If you received an item containing defects, please contact customer service at 1-866-226-6626.


Shipping

We can ship to virtually any address in the world. Note that there are restrictions on some products, and some products cannot be shipped to international destinations.

When you place an order, we will estimate shipping and delivery dates for you based on the availability of your items and the shipping options you choose. Depending on the shipping provider you choose, shipping date estimates may appear on the shipping quotes page.

Related Products