All Boat Camo Vinyl Wraps
Boat Camo Wraps Built for Open Water & Backwaters
Boat Camo Wraps from CamoWraps deliver marine-ready durability, stealthy style, and DIY-friendly installation for vessels of every size. Choose Yacht Boat Wraps for larger hulls (including center console boats) or go with our Fishing Boat Wraps for smaller boats—plus an optional Transom Wrap to complete the look. Printed with precision on premium cast vinyl and engineered for long days on the water, these wraps help protect surfaces while showcasing your favorite camo. Proudly made in the USA for reliable performance, clarity, and color.
Why Choose CamoWraps for Your Boat
- Marine-Ready Durability: Premium cast vinyl stands up to sun, spray, and regular wash-downs.
- Protection with Style: Helps guard gelcoat/paint from light abrasion while delivering a clean camo finish.
- UV & Weather Tough: Built to resist fading and the elements in both fresh and salt water.
- DIY-Friendly: Conformable film and air-release adhesive support smooth, bubble-reduced installs.
- Easy Refresh: Swap patterns without the cost or downtime of paint.
- Made in the USA: Crisp print quality, bold color, and quick support from enthusiasts.
Why Cast Vinyl Wraps Excel on the Water
For marine applications, cast vinyl is the gold standard. Its manufacturing process creates a stable, thin, and highly conformable film that hugs compound curves and chines while maintaining dimensional stability under heat, sun, and constant wet/dry cycles. In the real world, that means fewer edge-lift concerns, cleaner seams, and longer-lasting color—whether you’re in freshwater flats or offshore spray.
- Dimensional Stability: Resists shrinkage and distortion across temperature swings and exposure.
- High Conformability: Wraps rivets, contours, and hard angles more predictably than calendered films.
- Colorfast Performance: Better UV resistance helps keep patterns crisp and vibrant.
- Smoother Installs: With air-release adhesive, helps reduce trapped moisture and bubbles.
- Easier Maintenance: Compatible with routine wash-downs; simple care keeps it looking sharp.
Two Marine-Ready Options (+ Transom for Fishing Boats)
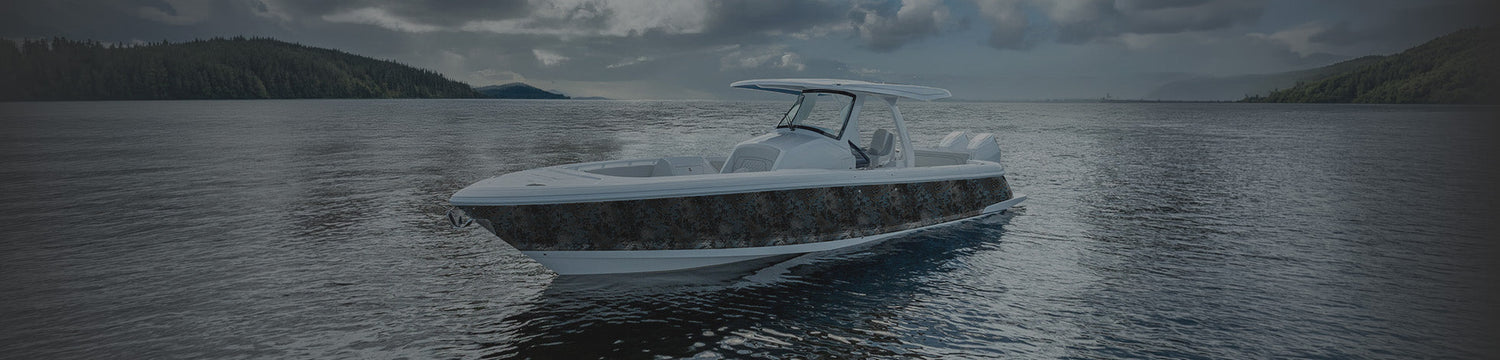
Yacht Boat Wraps
Built for larger vessels—center console boats, yacht —this option focuses on broad, continuous coverage and clean panel transitions. The conformable cast film helps manage long hull lines and compound curves while delivering a uniform camo finish above the waterline. Ideal for high-sun, salt, and spray environments with frequent wash-downs.
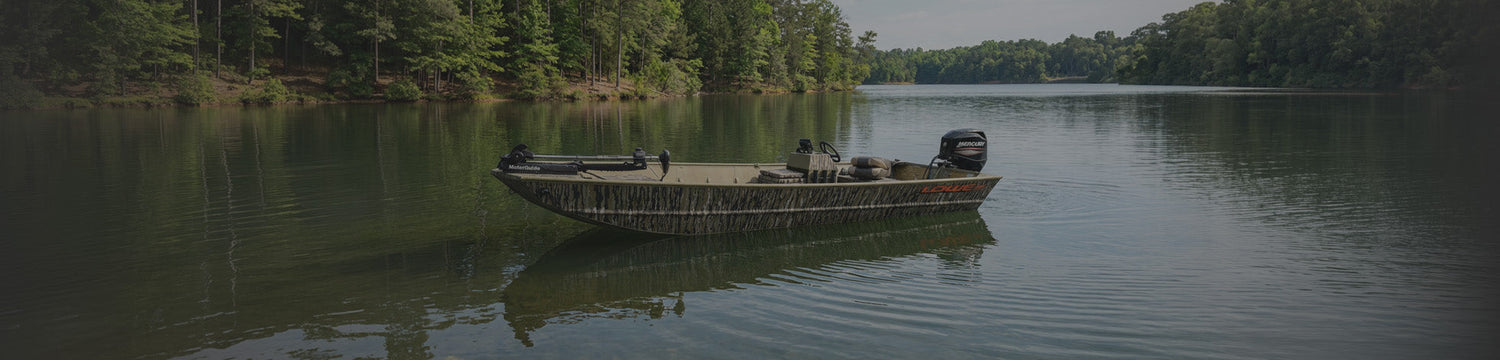
Fishing Boat Wraps
Sized and planned for smaller boats where durability and concealment matter—from shallow flats to rocky shorelines. The film adds a sacrificial layer against light abrasion from docks and gear, while staying easy to clean after long days on the water.
Add-On: Transom Wrap (Fishing Boats)
Finish the build with a dedicated Transom Wrap. Tie your pattern across the boat’s rear, frame motor well cutouts cleanly, and get a seamless camo presentation from bow to stern.
Top Camo Patterns for Boat Wraps
Choose trusted brands and exclusive in-house designs for bays, rivers, and blue water alike.
- Realtree: Proven concealment for marsh, shoreline, and timber.
- Kryptek: Tactical macro patterns with layered breakup and depth.
- A-TACS: Terrain-specific designs tuned for real-world performance.
- Muddy Girl: High-contrast pink/black camo with unmistakable style.
- Veil: Science-forward concealment patterns for modern anglers.
-
CamoWraps Originals: Exclusive in-house designs for distinctive marine builds.
Installation & Product Details
Prep and cleanliness are everything on a boat: wash, decontaminate, and wipe with isopropyl alcohol before you start. Dry-fit panels, apply with firm squeegee pressure, and post-heat edges and seams. Avoid submerging fresh installs for the first 24–48 hours so adhesives can settle. Routine wash-downs keep wraps looking sharp.
FAQs
Customer Showcase (Boats)
Want to be featured? Share your wrapped boat—pattern, model, and favorite waterway—and we’ll showcase top builds.